Wednesday, April 27, 2011

Bacon Wrapped Scallops

I've found my new favorite food: Bacon wrapped scallops. I mean what's not to like about a meat wrapped in another meat, namely bacon? While at Trader Joe's the other day I grabbed a couple of bags of frozen seafood to have around including a bag of Jumbo Scallops and found some nitrate free bacon that was thicker cut and looked really tasty. The bacon gave the scallops some more fat, salt and creaminess that put them over the top.  I will definitely make this dish again. It was super simple, very quick to make and tasted gourmet!

Bacon Wrapped Scallops
1 lb of jumbo Scallops
1 lb of thick sliced bacon (nitrite/nitrate free preferred)

Cut each strip of bacon in half and wrap around one scallop. Place wrapped scallops on a backing sheet about 2 inches apart. Broil on low for about 15 minutes checking often for bacon crispness. Don't let bacon get overdone.

If you have extra bacon, fry it up to eat along with the scallops then use the bacon grease to cook the dish below.

Zucchini and Leeks
3 small zucchini
1 leek
2 Tbs bacon grease
salt and pepper to taste

Wash leek thoroughly and slice white and light green parts washing slices well to remove sand trapped between layers. Cut zucchini into 1/2 inch pieces. When bacon grease is melted in the pan add leeks and zucchini. Saute until browned then cover and cook for about 5-10 minutes until zucchini is softened. sprinkle salt and pepper onto veggies if desired.

Tuesday, April 26, 2011

Toasted Sesame Oil side dishes

The other day I was looking through my veggie crisper trying to decide what kind of side dish to make with dinner. I had some carrots, mushrooms, chard, cucumber, onion, broccoli and lettuce. Hmmm...what to make with some of those ingredients. I decided to saute the broccoli and mushrooms in some butter then went to the pantry to see what I could use to season them. Toasted sesame oil was the winner! I actually love toasted sesame oil in a lot of different dishes both warm and cold. It gives everything a deeper flavor, like you spent more time on it or used a lot of different spices to reach the end result. Once I had the toasted sesame oil out, I decided to make a cucumber salad to go with the meal as well. I paired those 2 side dishes with a piece of wild Alaskan salmon that I simply baked with a sprinkle of salt and pepper. Voila! Dinner was served!

Sesame Broccoli and Mushrooms
1 head of broccoli
8 oz of mushrooms of choice (I used button mushrooms, but crimini or others work just as well)
1 Tbs butter or ghee
1-2 Tbs toasted sesame oil

Chop broccoli stem into small 1/2 inch chunks and crown cut into florets, then slice mushrooms into thick slices or quarter whole mushrooms. Saute broccoli and mushrooms in butter until they are slightly browned. Cover and cook for about 5 minutes. Add toasted sesame oil then toss to coat and cook for about 1 minute longer.

Toasted Sesame Cucumber salad
1 Cucumber
1/2 C sweet or red onion
1/3 C white vinegar
2 Tbs Toasted Sesame Oil
Dash of salt and pepper to taste

Slice cucumber into thin slices and finely dice onion. In a container with a lid add onion, cucumber, vinegar, Toasted Sesame Oil and salt & pepper. Cover with lid then shake to coat veggies with dressing. Refrigerate until serving.

Thursday, April 21, 2011

Primal/Paleo Easter Dinner

We love Easter at our house! I have many childhood memories of egg hunts, jelly beans, ham and chocolate bunnies, and I want my kids to have those happy memories of Easter as well. Since we live in the Pacific Northwest, it's usually rainy on Easter Sunday, like every Sunday in all but about 3 months of the year. So we have our egg hunts inside. We only use plastic eggs; if some don't get found, I'd rather find some stale jelly beans in a plastic egg a few months later rather than a really smelly real one. Hubby and I hide the first round of eggs and the kids hunt them throughout the house. Then the kids hide them and the big people hunt. This goes on for quite a while until the food is ready, and we may even do more egg hunts after we eat...the kids like them that much!

The menu for Easter dinner is not really set in stone carved by years of tradition. We mix it up a bit from year to year depending on what really good meat we happen to find. This year we're going with a Nitrate/Nitrite-free ham from Trader Joe's. In years past we've had leg of lamb, which is also a big hit. A few years ago I discovered that cooking the ham in the crock pot made it not only an easy meal to cook, but made the ham and everything in the pot with it really yummy. So I'll probably go that route this year as well.

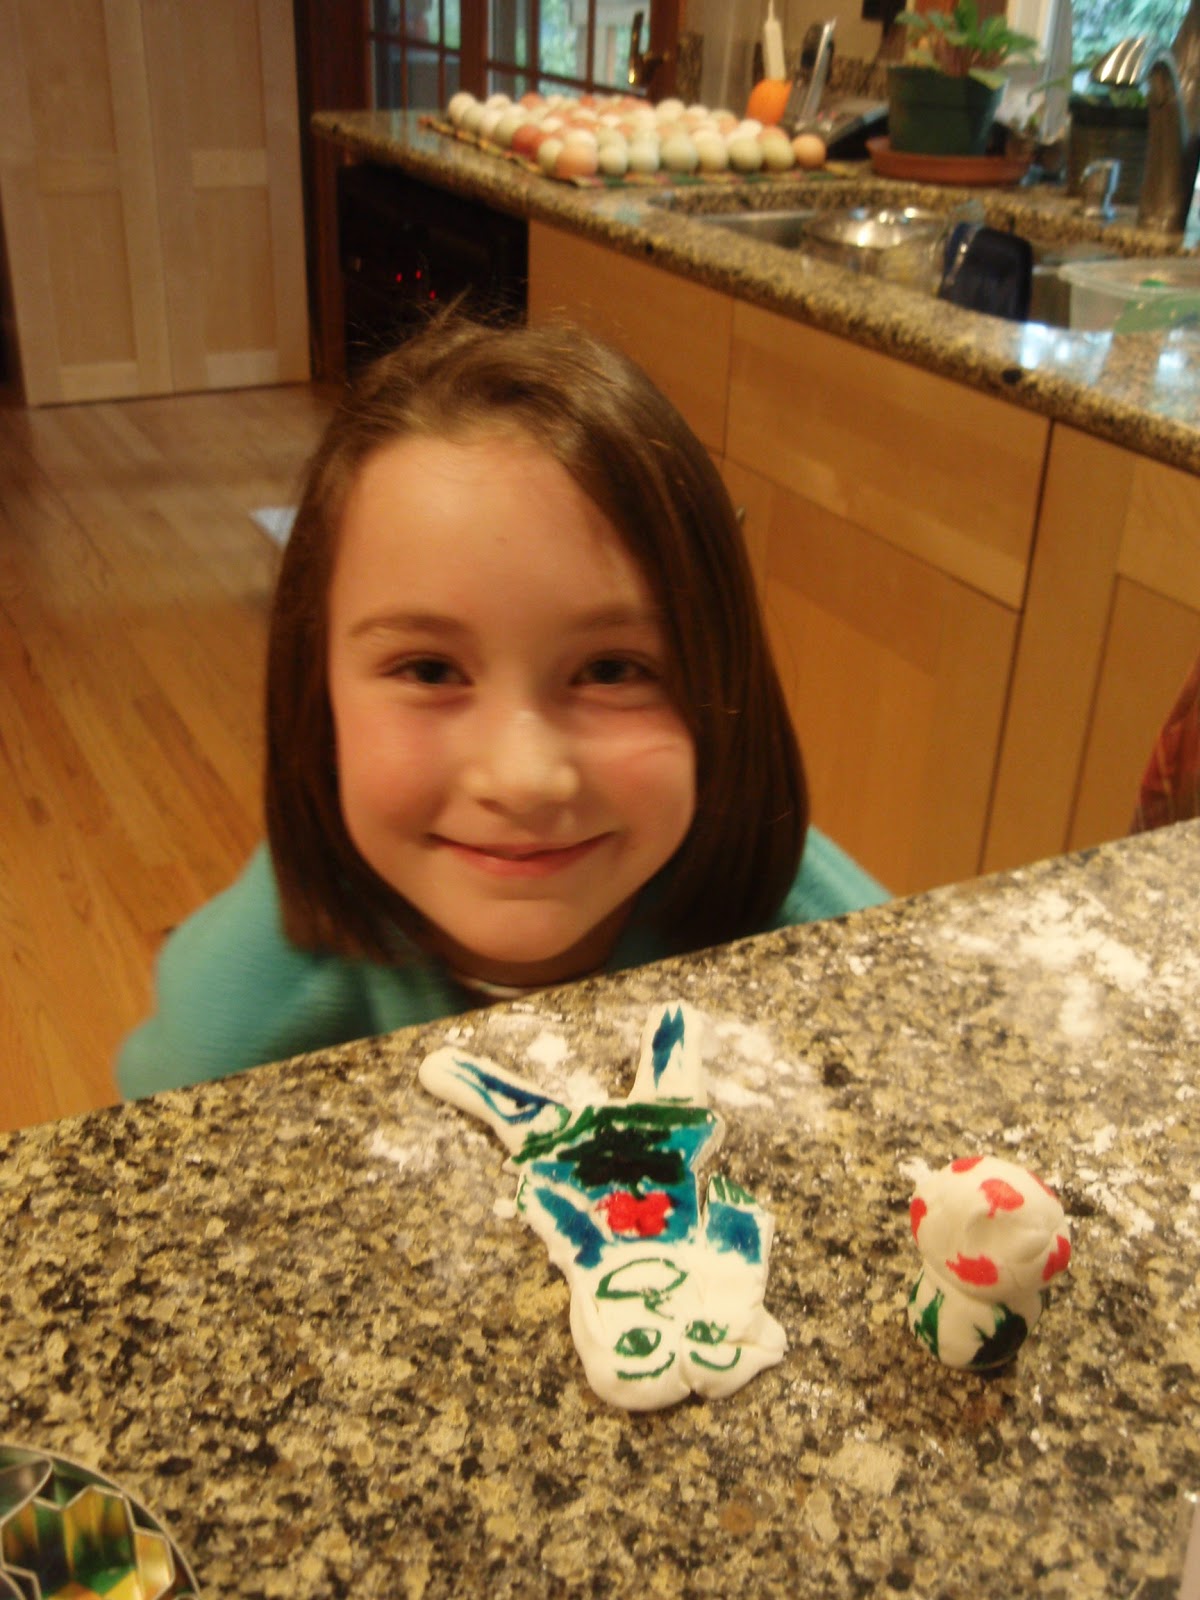
Since we have so many eggs, we'll definitely boil up a dozen or 2, but we may or may not dye or color them. Our eggs are already various colors and don't dye well, since they aren't all white. I could save a dozen or so white ones, or we may just go with the natural colors of our eggs. We'll see what the kids want to do. In years past we've gotten out the markers to decorate eggs, so that's always an option as well. And we're not ones to leave those decorated eggs sitting in a bowl until they go bad. We eat those bad boys right away after taking a few pictures to prove we actually decorated them. I like Deviled eggs, but the kids prefer theirs simply boiled.

Below is the menu we'll probably be eating on Sunday with maybe a few extra carbs thrown in for the kids' enjoyment.  :)


Crock pot ham with carrots
Nitrate/Nitrite free ham
about 1 lb baby carrots

Place ham into crock pot then place baby carrots on top and on sides of ham. Add about 2 C of warm water. Cook on High for about 4 hours or low for about 6 adding water if needed.


Ham-y beans (not primal or paleo, but so yummy)
All liquid remaining in Crock pot after cooking ham and carrots above
1 lb of dried beans (pick your favorite, I use pinto beans)

After removing ham and carrots from liquid, pour beans into crock pot then add enough extra water to cover beans by an inch or 2 if needed. Cook on high for about an hour or until beans are cooked through. This took a surprisingly short amount of time to cook the last time I did it, so keep an eye on your beans and check for doneness after about an hour.

Roasted Asparagus
1 bunch of asparagus
1 Tbs olive oil
salt and pepper to taste

Wash asparagus then by holding the bottom tip of the stalk and the top of the stalk bend the asparagus until the bottom inch or so breaks off. Throw that inch away. Some stalks will break closer to the bottom than others. The part that breaks off is the woody part that is not as yummy. Rub stalks with olive oil then place on a cookie sheet and sprinkle with salt and pepper. Roast at 400 degrees for about 10 minutes. Asparagus should be bright green when cooked. Don't over cook!


Deviled eggs
1 dozen organic or backyard chicken eggs
1/4 - 1/3 C Primal Mayo or other mayo of choice
1 Tbs Dijon or other mustard
1-2 Tbs dill pickle relish

Boil and peel eggs, then slice in half length-wise. Remove yolk and place in a quart zip lock bag. Prepare Paleo May (or use regular Mayo) then add it to the bag with yolks; add mustard and relish to bag as well. Mash bag to mix all ingredients well. Cut corner off of the bag then pipe yolk mixture into egg whites. Sprinkle with paprika if desired.


Chocolate Torte
This chocolate cake with frosting was very yummy, full of protein and my kids loved it. We'll be having it again for Easter.


Primal Hot Cross Buns from Girl Gone Primal.
These look so amazing I have to try them, and Easter is the perfect excuse.

Tuesday, April 19, 2011

Pre-Easter Egg Hunt

As most of you know, we have a flock of chickens in our back yard. Recently we housed half of them in the garden while they were growing. While in the garden, they learned to jump the fence and escape into the wild of our yard. Even after we moved them into the big coop along with the rest of the flock, a few continued to escape whenever they wanted to go on walkabout. Some have become permanently feral chickens roosting in the rhododendrons at night and foraging in the yard for all of their food. The younger chicks have now started to lay eggs, and the ones who have stayed inside the fence lay their eggs in the nesting boxes as they should. But we've been wondering about the ones who are roaming around the yard never going back into the coop for anything. Where were they laying their eggs? Egg Hunt time!

A quick look around the yard found a couple of "nests". One was in the dirt in the kids' playhouse and one was behind the Camellia bush next to the house. There was even a chicken sitting in that one. Both of those eggs were blue/green meaning they come from an Aracauna chicken, but several of the feral chickens lay white or brown eggs, not blue. So, where were their nests? Today while doing yard work I found one more nest that contained 12 white eggs! But that still doesn't answer the question of where the Barred Rock chicken who lays brown eggs has her nest...that one is still a mystery.

These young layers lay much smaller eggs than the older hens. As a chicken gets older the size of her eggs will increase until at some point she either stops laying or lays the largest egg of her life then goes on to the great pearly chicken coop in the sky. So the composition of our egg boxes doesn't look like the ones you see in the grocery store. Each egg varies in size and color depending on the breed and age of the chicken. But for my money, I'd rather have a tiny egg from a backyard chicken than a big one from the store any day!

Monday, April 18, 2011

Homemade Beef Jerky

As part of the Paleo/Primal lifestyle you eat a lot of meat, vegetables, fruit and nuts. Although fruit, and homemade trail mix made from nuts and raisins are handy on-the-go snacks, I'm often looking for something more savory rather than sweet to grab and run. Jerky is a good choice, but I haven't yet been able to find a jerky in the store that doesn't either contain a lot of sugar or nitrates. So, being the kind of person that likes to make things myself, I looked up recipes for making my own Jerky. It really didn't sound that hard, and since I have a dehydrator in my cabinet and some grass-fed beef in my freezer, I decided to give it a try.

1. Select a cut of grass-fed beef with minimal fat (we get our beef from a ranch in Oregon that is totally grass fed). I used a 1 inch thick round steak, then cut it into very thin strips about 1 inch in width and no more than 1/4 inch thick.


2. Marinate the strips in a mixture of spices and seasonings for several hours or overnight. I used about 1/4 C Worcester sauce, 1/3 C Soy Sauce, and 1 tsp garlic powder. You can throw in some heat here, if that's your thing, by adding chili powder, red pepper flakes or other head-inducing spices. A lot of the recipes I found also called for liquid smoke, but I didn't have any and didn't really think I'd like it. So my marinade only had the 3 ingredients.


3. Dehydrate the marinated strips of beef in your oven or in a dehydrator at 160 degrees for about 5 hours. If using your oven, you want it on the lowest temperature possible, then you may need to prop the door open with a wad of tin foil to bring the temperature down even more to about 150-160 degrees for about 5-6 hours until the meat becomes...jerky-like.


This jerky turned out really nice! Everyone in the family loves it, so I may need to make some more if I plan to get any to use for my grab-and-go snacks. So, Ava, can I get another 1/4 of a cow? :)

Sunday, April 17, 2011

Paleo/Primal Chocolate Cake with Frosting

As you may know, we have chickens...lots of chickens in our backyard. Those chickens produce quite a number of eggs. We sell our eggs to friends and neighbors, but that still leaves us with quite a few eggs during the mega-producing spring and summer months. So, today I was looking for something to make with one of the many dozens of eggs in the refrigerator and thought of cake! If you don't happen to have a lot of eggs hanging around your house, you can half the eggs in this recipe, half the syrup and leave out the flax seed meal. That would put you closer to the cake at Girl Gone Primal that was my inspiration. This cake has so much protein that I didn't have any issues with my kids eating it as part of their dinner rather than dessert. They put a bit of canned frosting on theirs to make it more like cake, but it still had enough eggy goodness in it that I wasn't bothered.

Note: This is not a very sweet cake; I would really call it a torte more than a cake. It needs frosting or berries and whipped cream to bring up the sweetness a bit to make it a dessert. I found a frosting recipe (as well as another chocolate cake recipe) at Crossfit Rebel that works well with my cake recipe. I've posted it below the cake recipe.  Also, my frosting didn't get fluffy at all, it was more like a ganache, but still yummy with the cake. Enjoy!

Paleo/Primal Chocolate Cake (Gluten and Dairy Free)
12 Eggs
1 C cocoa powder
1 C Flax Seed meal (could use almond meal)
1 Tbs vanilla extract
1/3 C Maple Syrup or Honey

Mix all ingredients together in a large bowl then pour into a greased 8x8 pan (may want to use parchment paper as well as cake tends to stick). Bake at 350 for 30-40 minutes until knife inserted into cake comes out clean.

CHOCOLATE FROSTING from Crossfit Rebel

1 cup dark chocolate chips (73%)
1/2 cup coconut oil or better yet, coconut butter
2 Tbsp honey
1 Tbsp pure vanilla extract
pinch of sea salt

1.In a small saucepan over very low heat, melt chocolate and coconut oil/butter
2.Stir in honey, vanilla and salt
3.Place frosting in freezer for 15 minutes to chill and thicken
4.Remove from freezer and whip frosting with a hand blender until it’s thick and fluffy
5.Frost over cake, cookies or cupcakes!

Saturday, April 16, 2011

Adios to the Driveway Lake

Our driveway is a fairly long gravel drive with a dip and a 90 degree turn about halfway along. Every time it rains this dip becomes our own personal lake. And given the fact that we live in the Pacific Northwest, that's a lot of rain and a perpetual lake. Also, when it snows or is icy, trying to get up the dip and then the slope of our driveway without getting a running start is impossible. This year I finally got tired of it and called a company to come fill in our lake. They brought in about 3 dump truck loads of gravel to raise the dip by about 2 feet to meet the driveway on either side. So far I think the fix is working! It rained aardvarks and elephants the other day and there's no lake! That's one problem solved...now to move on to the rest of the list.


Tuesday, April 12, 2011

Stop-motion Animation

This past week was Spring Break, and my kids and I wanted to do something fun and interesting with our free time. While looking through the summer camp catalog a few weeks ago my daughter was interested in the claymation class, but it didn't really fit into our plans for summer. So, we decided to give it a try on our own. We researched stop-motion animation online and found several tutorials that described the process and even gave step-by-step instructions on things like making a Lego Minifig walk. My friend Kate, also sent me a link to the Adventures of Morph, a pre-Wallace and Gromit British claymation show. The kids loved that one, too, and got lots of ideas.

But probably the best advice we found was a suggestion to use Windows Movie Maker to turn our still images into a movie file. I had no idea my computer already had that installed on it. And it worked great! Here are the steps we took to make our movies.

1. Decide on a very simple idea to film. Most of our movies were extremely basic and included things like a minifig driving a car across the screen and turning to wave at the camera somewhere in the middle. Another idea was an action figure raising his hand to wave or to Hi-5 another action figure.
2. Set your stage. Use a solid color table or board on which to place your "actors". Set the stage in front of a blank wall or hang a sheet or pillow case on the wall to make it blank. If you are using LEGO, use sticky tack or double sided tape to anchor your LEGO base plate so it doesn't move around.
3. Anchor your digital camera on a tripod then find the best camera setting to get focused shots. I used my macro or super macro setting to do most of our filming as we were using very small objects as our actors.
4. Use lots of lights. We turned on every light we had in our filming room then I DID NOT use the flash on the camera. Flash on the camera did not look good at all in the movie.
5. Take at least 30 to 40 pictures to complete your 5-10 second movie.
6. Using Windows Movie Maker import all of your pictures
7. Adjust the time for each picture to .3-.7 seconds per frame. Most motion frames were timed at about .3 seconds, but ending shots or other shots that have any writing to read should last about .7 seconds.
8. Save your frames as a movie.
9. Do the happy dance after watching your super cool movie a few dozen times.


Dino and Ball

Harry driving By

Bombing the Castle


Superhero fist bump

Jewel Thief

Dino Attack

NinjaGo Kai VS Mr. Freeze

Clay Guys Hi-5

Harry on the Tea Cups

Monday, April 11, 2011

Fondant Play-dough

A week or so ago my kids and I were trying to decide what to do for spring break. My daughter was interested in learning about claymation and stop-motion animation. So we brainstormed some ideas for possible movies we might make together. In the midst of this discussion my son jumped in and said "Ooh, instead of clay, let's use fondant so we can pretend we're giants and eat the people we make."

I thought that was a pretty good idea, but unfortunately we didn't get around to using the fondant in our movies. (The movies are a post for another day.) Yesterday was the last day of our spring break and I remembered that I hadn't made any fondant yet. Using some online advice I decided to try to make my own fondant using marshmallows. This was a sticky, gooey mess for about 3/4 of the process, but in the end it worked itself out and made some pretty nice edible modeling material. The kids ate some when they were finished creating and said it was very yummy, which is in contrast to what I've heard about the taste of pre-made fondant you get in the store. So if we decide to make a fancy cake some day  or just want to play with yummy play-dough I'll definitely be making this again.

Marshmallow Fondant
1 C mini marshmallows
1 Tbs water
1 1/2 + C powdered sugar

1. In a microwave safe bowl, mix mini marshmallows and water then microwave on high for 30 seconds. Stir, then microwave in 30 second increments until the mixture is very melted and stir-able.
2. Add powdered sugar and mix as best you can to incorporate sugar. Once the mixture gets too messy, you can turn it out onto a very well sugared counter top and knead with your sugared hands. This is where it is a complete sticky mess. But don't give up (not that you can when your hands are glued together with this stuff), keep adding sugar until the dough gets less sticky and more like...dough. I think I ended up adding 1.5 or more cups of sugar in the end.
3. To color your fondant you can add a few drops of food coloring when microwaving marshmallows or you can knead the color into the dough at the end.
4. To make a large batch, use a whole bag of mini marshmallows, 2 Tbs of water and a whole 2 lb bag of sugar.
5. Have fun!

Saturday, April 9, 2011

Join the "Better Off" Book Club


Click here to see it on Amazon


A few weeks ago I was reading some of my favorite blogs and ran across a Book Club on Crunchy Chicken's page. Her glowing description of the book Better Off by Eric Brende piqued my interest. So I reserved it at the library and have been devouring it over the last week.

The book is about a fellow MIT graduate, Eric, who shucks his modern life in Boston for a very Old World Amish/Mennonite rural community that he calls the "Minimites". He and his new ex-accountant wife, Mary, descend on this close-knit community in their compact car with very little in the way of farming, homemaking or non-electric living skills to find that the community itself makes the modern "necessities" irrelevant. In the midst of their 18 month stay they find that Mary is expecting their first child and enlist the services of the community midwife who lives 6 miles away and has no telephone.

I'm most of the way through this book and have enjoyed it immensely. Not only has the author explained how some of the basic farming and living tasks get done without electricity or motors, but he's described the "characters" in his story well enough that I know which ones I'd like to meet if I ever find this secret society. I have been interested in simplifying my life for quite a while, and will take some of the ideas from this book and the Minimite life to incorporate into my own life, but I have no desire to turn off my electricity and shun my gasoline powered car for a horse and buggy.

You can read this book and follow along with Crunchy Chicken's book club if you want to discuss it...or you can read it and leave me a comment. I'd love to discuss the book with you, too!

Tuesday, April 5, 2011

A Tale of Two Flocks

Up until this past weekend our older hens and our younger hens had been separated into 2 separate flocks and housed in separate coops. The younger hens, who are about 5 months old now, were living in my garden. While in there, they had removed every scrap of vegetable matter in the fenced area including my strawberry and blueberry plants I had hoped to keep for this year's garden. Needless to say I was ready to move the chicks out of my garden!

On Sunday morning Hubby attached the fenced runs together creating a walkway between the 2 runs to let the flocks mingle. This isn't really the ideal way to combine flocks. We knew this. But the layout of the coop the small hens were living in made it very hard to remove them from their roosts at night to sneak them onto the roosts in the big coop. As you may expect, the flocks had to work out their pecking order when they met each other. This led to some short lived cock fighting, but it was interesting to see how they behaved. A few of the roosters just weren't interested in being the top dog. They quickly walked away from the dominant rooster to hang with the hens...smart rooster in my opinion. But 2 of them duked it out for a few rounds until someone won, but I'm really not sure which one that was. There was nothing obvious from my human point of view that tells me which one is now in charge, but I imagine they know.


After we closed up the connection between the 2 runs with both flocks in one run, I noticed that the chicks weren't going into the coop at all. That's where the food and water are and where the nesting boxes live and where they should go to roost and get out of the rain. But they won't go in. They also keep jumping the fence so they can run around the yard or go back into my garden. This is a 4 foot fence they jump out of and a 6 foot fence they jump into. That's just crazy. I think there will be some research into wing clipping going on around here in the near future.

Last night I went out in the rain and muck and lifted a few chicks off of their perch outside in the rain and shoved them into the dry coop, but they came right back out. All together, I probably shoved every chick a into the coop at least once, some 2 or 3 times and only about half of them stayed inside. Dumb chickens. But I tried to help, so I've done my job. Eventually I hope they figure out that the food is inside before they starve to death, but we probably have too many chickens as it is. So a loss of a couple isn't so bad...I guess that's pretty heartless of me, but after last night they lost my pity.

LinkWithin

Related Posts Plugin for WordPress, Blogger...