Showing posts with label Crafts. Show all posts

Monday, December 12, 2011

Make Your Own Plush Angry Birds Game

Shhh! Don't tell my kids, but I made them a real-life Angry Birds Game for Christmas. Both of the kids like to play the electronic game, as do I. So I thought I would try to make a real-life game where we could throw bean-bag style birds at little stuffed piggies hiding under our building block towers. How fun would that be?!? 

I searched the Internet for ideas, but ended up just printing out some pictures of the little guys in the game on my computer and went from there. 

Buy all the relevant colors of 8x10 sheet felt from a craft store along with some felt glue. You can cut out small pieces like the eyes and mouth line or you can draw them on with a fabric marker. I opted for the marker because it was much easier.


Cut out the facial features from the paper print-outs and cut around them onto the felt.

Take the felt body color of the creature you are creating and sew a circle, triangle or oval leaving an opening to turn the body inside out and stuff.


Turn inside out to hide seams then glue facial features onto body. Let dry appropriate amount of time according to glue bottle. You can sew these features on, but that was too much work for me! I used pins to hold the bottom white pieces that curved around the bird until they dried.


Stuff bodies with appropriate material. For the birds, I used mostly bean bag pellets. Real beans would work here as well. I wanted to give them some heft so they would knock over the towers we build. The large bomb birds were stuffed with half pillow stuffing and half pellets because I didn't want them to be so heavy they would break something important like a window. :) The pigs were stuffed entirely with pillow stuffing.

By hand, sew up the opening on the body then sew on any embellishments like ears for the pigs, hair tufts for the birds or the fuse on the bomb bird. 


Build some towers or forts for your pigs to hide in, and launch your birds! I did think about getting a sling shot for launching, but I thought that would be a bit too dangerous for the rest of my household belongings.


Enjoy!

Tuesday, September 20, 2011

Hooded Towel for a Big Kid

The other day I saw this post about hooded towels at Sew Like My Mom, and knew I had to make these for my kids. Now you may think that a hooded towel is something for a baby or toddler, but you would be mistaken! My big kids love hooded towels and have tried to squeeze into the baby ones that for some reason are still in the linen closet. They have friends who have hooded beach towels that they take to the pool, and my kids have looked longingly at them all summer long. So now that I had the instructions on how to make one myself, I got to work.

These hooded towels uses regular sized bath towels and hand towels sewn together; so technically they could fit an adult...I tried them on and they were so snuggly that I may just make one for myself! I went digging in the linen closet and found 2 white bath towels and 2 white hand towels that looked like they had maybe been used once. Perfect! Then with my coupon to the fabric store in hand I bought some remnants that would be used for the edging on the hood and for a bit of decoration on the back of the towel.

The process of making a hooded towel is fairly simple. First I took the hand towel, folded it in half, measured 6 inches along the folded edge then cut from there diagonally to the corner.


I then took my remnant, and cut a strip 5 inches wide by about 24 inches long. This ended up being a little too long, so measure the distance along the cut edge of your hand towel to determine the exact length you need. Then I basically made bias tape out of the fabric by folding the edges of the fabric to the center then folding the whole thing in half again long ways. In the end you have your fabric folded to 1/4 of the width with edges folded to the inside.


Position your homemade bias tape along the cut edge of your hand towel, pin it, then sew it on.

Take your hand towel and refold it in half with the fabric edge along one side. Sew the other side of the towel to make the back of the hood. At this point right sides of your hood are on the inside. Turn the hood right side out so the seam on the back of the hood is now on the inside.

Take the neck part of your hood and center that onto the center of one side of your bath towel. The curve of the hood will make the neck not lay completely straight against the side of the towel, but do your best and pin this in place. Sew the right sides of the hood and bath towel together.


Now you can be finished if you like, or you can embellish a bit. I added a fabric Hot Wheels panel to the back of The Boy's towel and the Girl wanted her initial on the back of hers made in the same fabric as the hood edging. You can also add little hand pockets to make it easier for little hands to hold the towel closed, or not, it's up to you.


Tuesday, April 12, 2011

Stop-motion Animation

This past week was Spring Break, and my kids and I wanted to do something fun and interesting with our free time. While looking through the summer camp catalog a few weeks ago my daughter was interested in the claymation class, but it didn't really fit into our plans for summer. So, we decided to give it a try on our own. We researched stop-motion animation online and found several tutorials that described the process and even gave step-by-step instructions on things like making a Lego Minifig walk. My friend Kate, also sent me a link to the Adventures of Morph, a pre-Wallace and Gromit British claymation show. The kids loved that one, too, and got lots of ideas.

But probably the best advice we found was a suggestion to use Windows Movie Maker to turn our still images into a movie file. I had no idea my computer already had that installed on it. And it worked great! Here are the steps we took to make our movies.

1. Decide on a very simple idea to film. Most of our movies were extremely basic and included things like a minifig driving a car across the screen and turning to wave at the camera somewhere in the middle. Another idea was an action figure raising his hand to wave or to Hi-5 another action figure.
2. Set your stage. Use a solid color table or board on which to place your "actors". Set the stage in front of a blank wall or hang a sheet or pillow case on the wall to make it blank. If you are using LEGO, use sticky tack or double sided tape to anchor your LEGO base plate so it doesn't move around.
3. Anchor your digital camera on a tripod then find the best camera setting to get focused shots. I used my macro or super macro setting to do most of our filming as we were using very small objects as our actors.
4. Use lots of lights. We turned on every light we had in our filming room then I DID NOT use the flash on the camera. Flash on the camera did not look good at all in the movie.
5. Take at least 30 to 40 pictures to complete your 5-10 second movie.
6. Using Windows Movie Maker import all of your pictures
7. Adjust the time for each picture to .3-.7 seconds per frame. Most motion frames were timed at about .3 seconds, but ending shots or other shots that have any writing to read should last about .7 seconds.
8. Save your frames as a movie.
9. Do the happy dance after watching your super cool movie a few dozen times.


Dino and Ball

Harry driving By

Bombing the Castle


Superhero fist bump

Jewel Thief

Dino Attack

NinjaGo Kai VS Mr. Freeze

Clay Guys Hi-5

Harry on the Tea Cups

Monday, April 11, 2011

Fondant Play-dough

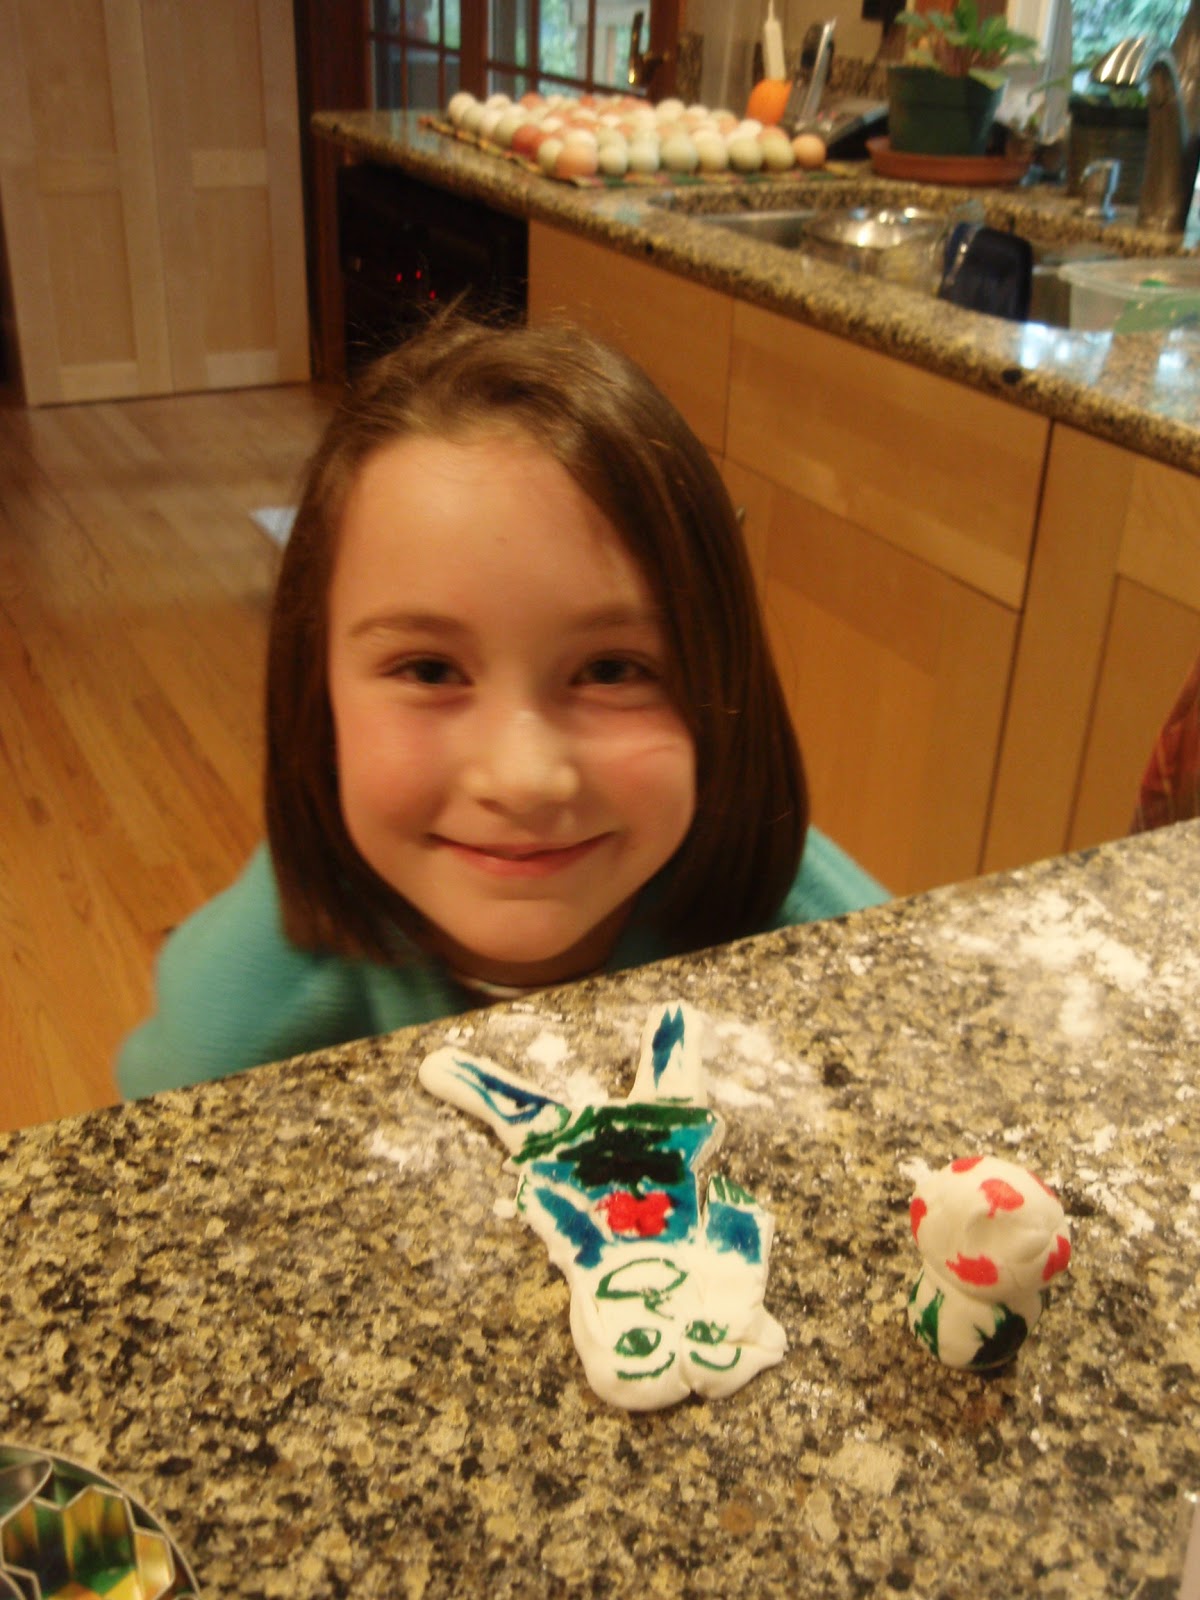
A week or so ago my kids and I were trying to decide what to do for spring break. My daughter was interested in learning about claymation and stop-motion animation. So we brainstormed some ideas for possible movies we might make together. In the midst of this discussion my son jumped in and said "Ooh, instead of clay, let's use fondant so we can pretend we're giants and eat the people we make."

I thought that was a pretty good idea, but unfortunately we didn't get around to using the fondant in our movies. (The movies are a post for another day.) Yesterday was the last day of our spring break and I remembered that I hadn't made any fondant yet. Using some online advice I decided to try to make my own fondant using marshmallows. This was a sticky, gooey mess for about 3/4 of the process, but in the end it worked itself out and made some pretty nice edible modeling material. The kids ate some when they were finished creating and said it was very yummy, which is in contrast to what I've heard about the taste of pre-made fondant you get in the store. So if we decide to make a fancy cake some day  or just want to play with yummy play-dough I'll definitely be making this again.

Marshmallow Fondant
1 C mini marshmallows
1 Tbs water
1 1/2 + C powdered sugar

1. In a microwave safe bowl, mix mini marshmallows and water then microwave on high for 30 seconds. Stir, then microwave in 30 second increments until the mixture is very melted and stir-able.
2. Add powdered sugar and mix as best you can to incorporate sugar. Once the mixture gets too messy, you can turn it out onto a very well sugared counter top and knead with your sugared hands. This is where it is a complete sticky mess. But don't give up (not that you can when your hands are glued together with this stuff), keep adding sugar until the dough gets less sticky and more like...dough. I think I ended up adding 1.5 or more cups of sugar in the end.
3. To color your fondant you can add a few drops of food coloring when microwaving marshmallows or you can knead the color into the dough at the end.
4. To make a large batch, use a whole bag of mini marshmallows, 2 Tbs of water and a whole 2 lb bag of sugar.
5. Have fun!

Thursday, March 3, 2011

Cake Pops Again

The kids and I had a great time decorating the little monkeys and chicks the last time we made cake pops. So when a friend's birthday was on the horizon, I asked her if she wanted cake pops for her birthday treat. And, lucky for us, she said yes! This time around was a bit more difficult, though, because we were trying to eleminate as much of the dairy as possible to accomodate my friend's dairy intolerance.

I started with a dairy free cake, which turned out beatifully. I then broke part of the cake up into small crumbs. Since I was trying to eleminate as much of the dairy as possible, I omitted the frosting that usually gets mixed into the cake. (In hind sight I realize I should not have omitted this step. I should have mixed in something else that was dairy free like jam to give the cake crumbs extra moisture.) I then rolled the cake crumbs into balls and put them in the freezer for about an hour to harden. Meanwhile I melted about half of a bag of dark cocoa candy melts in a glass bowl in the microwave in 30 second intervals at half power. After the cake balls were frozen I took a paper lollipop stick, dipped the tip of the stick into melted candy melts and tried to put the stick into the cake ball. Unfortunately the drier nature of the dairy free cake without any moisture ammendments made this part very tricky. Most of my cake balls split when I tried to put them on a stick. I did my best to hold the ball together while spooning a bit of candy around the bottom of the ball next to the stick and onto any large cracks I noticed. I then, set these aside to let the candy harden before moving on with covering the rest of the cake ball. The crumbliness of the cake also led to lumpy candy as cake bits often dropped into the candy. So, I didn't get any smooth cake pops this time around, but we improvised and tried to make the lumpy cake pops work for us.

The kids and I decided to make roosters and cats out of our dark cocoa cake pops, which I think turned out fairly nice considering the circumstances of their creation.  We used large heart sprinkles for the roosters' comb and small heart sprinkles for the beak. A small heart sprinkle made the cat nose and small confetti sprinkles were eyes. Chocolate chips were the cats' ears.

I think the next time we make these I'll definitely add in some frosting or jam and will let each bit of candy coating harden before moving on to the next step. So I'll dip the stick in candy and put the cake ball on it, then let it sit before moving on to the next step. Patience is the key to these treats, I'm beginning to realize. But no matter how they look, they always taste very yummy!


Monday, February 14, 2011

Happy Valentine's Day!

Happy Hallmark Holiday to you all! Yes, I agree that Valentine's Day is a completely manufactured holiday meant to sell more chocolate and flowers. But I love chocolate and flowers, so that works for me! I also like the idea of a holiday made specifically to tell our loved ones how we feel about them. Yesterday my daughter and I sat at the table surrounded by stickers, colored pencils and cut-outs of hearts making cards for each other. Mine contained all of the corny sayings like "Bee my valentine" next to a drawing of a Bee. After discussing that Simpson's episode where Lisa gives Ralph a Valentine Card, I almost made one that said "I choo choo choose you", but I refrained. We had a great time crafting together for the sole purpose of telling our family how much we love them. Viva La Valentine's Day!

And what's Valentine's day without chocolate? Did you know that dark chocolate is good for you? I guess you could say it's good for your Valentine's Heart! According to MyRecipes.com,  "High in antioxidants known as flavonoids, dark chocolate delivers an awesome nutritional wallop. Studies show that modest amounts–no more than 1 to 2 ounces–eaten every day can reduce risk of blood clots, lower blood pressure, increase endurance, improve skin quality, and even sharpen problem-solving skills."

If you're looking for a good dark chocolate recipe to make for your Valentine's dessert tonight check out this Warm Dark Chocolate Pudding from Cooking Light. Although, when I make this recipe I will be using real eggs from our happy backyard chickens rather than egg substitute. :)

Happy Chocolate Day!

Thursday, January 20, 2011

Green, Money Saving Gift Giving Ideas - Part #3

This post is part 3 in the series. Each post will contain one or 2 green gifting ideas. Click here for part 1 or here for part 2

Green, Money Saving Gift Giving Ideas
10 Gift giving ideas that will save you money, reduce waste and save resources.


5. Paint a pot and plant it with a propagated house plant or divided herb or flower from the garden
I love gardening. So this gift idea is one of my favorites. Every spring when I plant seeds in starter trays in my greenhouse I always plant too many. I assume that some of the seeds won’t germinate and some that do may not survive as seedlings. But even taking these factors into account, I always have extras. When I have extras of herbs, veggies and flowers, I have the perfect start to a great hostess or birthday gift. Terracotta pots are very inexpensive at the garden store, hardware store or even a discount store. You probably have some old ones in your garage or tool shed. I often get several when they are on sale to have on hand when I need them. I, then, paint them with any paint I have on hand. Stripes, polka dots, flowers and vine designs work well and will fit into most home decors. Be sure to plant your start several weeks in advance of your gift giving date to give the seedlings time to grow and mature into a nice plant or bloom into a beautiful flower. Alternatively you can propagate a house plant such as an African violet or spider plant or divide a plant that has outgrown its spot in your garden and use that plant in your decorated pot.

6. Make memory pillows or quilts from scraps
If you can sew a straight line either by hand or on a machine you can make a gift that any recipient will cherish for years. Although the word quilt may bring to mind something complicated, huge and very difficult, a decorative quilt doesn’t have to be any of those things. After my kids were born I made memory quilts of their hand or footprints for each of their grandmothers. I simply made hand or foot prints on a regular sheet of paper, scanned it into my computer and printed it onto printable fabric I got at the craft store. This square of fabric became the center of a very simple 18 inch by 18 inch quilt meant to be hung on the wall. The same quilt front could also be attached to a backing and stuffed to become a pillow. Other than the center printed square, the rest of the fabric used to make the patchwork front came from remnants I had on hand and scraps of old clothing that had a nice pattern.

Another idea I plan to get around to making some day is a memory quilt made from baby and toddler clothing my kids wore when they were little. I’ve saved a lot of t-shirts that have a graphic pattern on them and plan to cut those into squares and sew them together into a childhood memory quilt. I have so many memories of my kids wearing particular outfits and want to preserve those memories in a physical way that I can look at whenever I feel the need. Or maybe they’ll take the quilt to college with them. Who knows.

Thursday, December 30, 2010

Cake Pops

My daughter has always been interested in art, drawing and anything crafty. And as with all kids, she loves candy, cake, ice cream and anything sweet. Lately she's been combining these by taking a cake decorating class and wanting to make her own candy and other crafty food. For Christmas I got her a couple of crafty food books and associated tools and accessories. One of those books was Cake Pops by the Bakarella.com author.

The basic concept of a cake pop or a cake ball involves mixing crumbled cake with pre-made icing then forming the mixture into small balls and chilling or freezing. After freezing you coat the balls with candy melt coating and then decorate.

The first attempt at making these pops didn't go very well. They fell off the stick into the candy and made a general mess. After trying unsuccessfully to make a few, I put the balls back into the freezer to harden up more before trying again. It turns out that for me, a frozen cake ball works much better than a chilled one. Secondly, found that trying to dip the balls into the candy coating also usually resulted in the balls falling off of the stick into the candy. So I improvised by spooning the coating over the balls instead of dipping. That worked much better.


The rest of the project is pure decoration and imagination. Finding the perfect sprinkle to mimic a monkey ear or a chick's foot is all part of the fun. The book gives you a ton of ideas, but I think coming up with our own will be something we try to do as we make more of these. It was a lot of fun once we figured out the technique that worked best for us. And we'll definitely be making more of these in the future!

LinkWithin

Related Posts Plugin for WordPress, Blogger...