Showing posts with label Dairy Free. Show all posts

Tuesday, November 11, 2014

Brownies!!!

Yes, Brownies really do need to have 3 exclamation points. :) 

Who doesn't love a good brownie? It's chocolaty, sweet, part crunchy, part gooey and all yummy. 


For the last couple of summers, I've been a volunteer at a local Girl Scout camp and have been assisting the food team in creating allergy friendly outdoor cooking recipes. The camp teaches the participants how to use a Dutch Oven, Box Oven, Propane Stove, and Hobo Stove over the course of the program. I've been experimenting with these types of outdoor cooking methods on my own to find yummy Paleo or at least GF, DF recipes that work great for these alternative cooking styles. Through my experimentation I've managed to find several recipes that work for various allergies. All of them work well when cooked in a regular home oven and when you are diligent with your charcoal, they all work well in a box oven as well. 

Recently my daughter and her Girl Scout troop held a Box Oven cooking workshop where they showed other girls how to make and use a box oven to bake brownies. One of the other troop moms spent many hours experimenting with the coals to find the perfect way to bake these brownies in the amount of time we had available for the workshop. What she found was that the coals must be totally white before you start baking. With the proper coals your brownies bake in the usual 45 minutes; however,  if you jump the gun on the coals, your brownies will take much much longer to firm up and be cooked through. In a camping situation, sometimes this doesn't make much difference, but knowing the proper way was crucial for our workshops. Our troop has made and used box ovens on several of our camping trips and I've documented that here. Take a look and make your own oven to use when you camp or just in your own back yard for fun. 


Here are 3 different brownie recipes that I've created to fit various needs. All are Gluten Free, Dairy Free, Soy Free and Nut Free. One is also granulated sugar free and one is egg free. Hopefully you'll find one you'll love.

Gluten Free Brownies (GF, DF, Nut Free)
1/2 cup coconut flour
1/2 cup cocoa powder
1 ½ cup sugar (coconut palm sugar or other granulated sugar)
1 tsp. baking soda

½ tsp. salt 
3 eggs
3/4 cup liquid (water, coconut milk or other milk)
1 tsp. vanilla
1 C miniature marshmallows

Mix all ingredients then pour into an 8x8 brownie pan. Bake at 350F for about 40 minutes.

Gluten Free Egg Free Brownies (GF, DF, Nut Free, Egg Free)
1/2 cup coconut flour
1/2 cup cocoa powder
1 ½ cup sugar (coconut palm sugar or other granulated sugar)
1 tsp. baking soda

½ tsp. salt 
2/3 cup coconut oil - melted
3/4 cup liquid (water, coconut milk or other milk)
1 tsp. vanilla
1 C miniature marshmallows

Mix all ingredients then pour into an 8x8 brownie pan. Bake at 350F for about 40 minutes.

Paleo Brownies (GF, DF, Nut Free)
1/2 cup coconut flour
1/2 cup cocoa powder
3/4 cup honey
1 tsp. baking soda

½ tsp. salt 
3 eggs
1/2 cup liquid (water, coconut milk or other milk)
1 tsp. vanilla
1 C miniature marshmallows

Mix all ingredients then pour into an 8x8 brownie pan. Bake at 350F for about 40 minutes.


Tuesday, November 26, 2013

Southern Pecan Pie Revisited

I've made several versions of Pecan Pie over the last several years. Before I ate paleo, I made my Mama's Pecan Pie. Her version had a crispy layer of pecans on top with a thick gooey layer of syrupy goodness in the middle and a flaky crust on the bottom. That was my favorite pie for years and I was sad to give it up when I gave up grains and refined sugars.

A couple years ago I did some research and created a new version of pecan pie with a  nut crust and a center made from pecans, eggs and dried plums. This version was very tasty but not enough like Mama's traditional pecan pie to make me feel like I was back in her kitchen.

So this year I decided to take another stab at remaking Mama's Traditional Southern Pecan Pie without the grains and refined sugars. In this version, I went back to the original recipe and worked on substituting healthy ingredients for the not-so-good ones. I'm pretty happy with my usual nut crust, so I didn't change that. The main bad ingredients were the sugar and corn syrup that make up the gooey layer in the middle. I decided to use maple syrup and molasses for the sweetener and then used some unflavored gelatin along with my eggs to give the middle layer some strength and help it become more gooey rather than runny. I'm pretty happy with the result, and the rest of the family agreed that it was pretty close to a traditional southern pecan pie.

You may be wondering if molasses is paleo. Here's what thepaleolist.com has to say about it.

Molasses comes from the sugarcane plant. It is made by boiling cane syrup a second time, and for the more common blackstrap molasses, by boiling this syrup a third time. That’s it. The problem with common table sugar lies in the refining process, which molasses doesn’t suffer from. Today’s regular white table sugar (pure sucrose) is completely void of natural nutrients and minerals, and concentrated to be much sweeter than anything cavemen would have found while gathering. So, fortunately for us, pure molasses contains all of those nutritive compounds lacking in table sugar, making it a source of calcium, iron, magnesium, potassium, phosphorus, zinc, and copper. It’s just about as close to the source as possible, with a deeper and less concentrated flavor than cane syrup. The sources are right; molasses is the optimal primal sweetener!


Southern Pecan Pie Revisited
Crust
1 C Walnuts
1 1/4 C Pecans
1/4 C Coconut oil or melted butter

Filling
1 1/4 C Pecans - chopped
3/4 C Maple Syrup
3/4 C Unsulfured Molasses
1 T Vanilla
2 T Coconut oil - melted
4 Eggs
1 tsp. Cinnamon
1 T Unflavored Gelatin
1/4 C Warm water

In a food processor pulse all crust ingredients until well incorporated. Press mixture into a pie tin and bake at 350F for about 15 minutes.


In a small bowl mix gelatin and warm water until gelatin is dissolved. Set aside. In a large bowl, mix chopped pecans, maple syrup, molasses, vanilla, cinnamon and eggs. While stirring syrup mixture, drizzle in coconut oil. Keep stirring then drizzle in the water with gelatin. Pour combined mixture into crust and bake for about 30 minutes or until mixture doesn't jiggle when you move the pan.

Thursday, November 7, 2013

Lemon Muffins

I've made a few different lemon muffins over the years. One of my favorite was the Coconut Flour Lemon muffin that was nut free and very lemony. But today, I was looking for a fluffier version of that muffin. Strictly coconut flour muffins tend to be a little denser than an almond flour one because you need to use so much liquid to balance out the thirstiness of the coconut flour. I wasn't really looking to make this one nut free in particular so I played around with it a bit until I found a combo that I really liked. This Lemon Muffin is a coconut - almond flour combo that is just what I was looking for. You can add poppy seeds to it if you like them; I didn't add them because I didn't have any and they're not my family's favorite. Feel free to customize your own until you find your perfect Lemon Muffin!


Lemon Muffin
1/2 C almond flour
3/4 C coconut flour
1/2 tsp. salt
1/2 tsp. baking soda
5 eggs
3/4 C applesauce
1/2 C honey
2 T lemon zest (about 1.5 lemon's worth of zest)
1 tsp. lemon extract
2 T poppy seeds (optional)

Preheat oven to 350F. Mix all dry ingredients in one bowl. Add applesauce, honey, lemon zest and lemon extract. In another bowl beat eggs until they are foamy or fluffy. Gently mix eggs into flour mixture. Spoon batter into lined muffin tin. Bake for about 25 minutes or until tops are firm for regular sized muffins and 40 minutes for jumbos.

Wednesday, October 2, 2013

Swirly Sugar Cookies by the Smaller Cavegirl

Last week The Girl wanted to make some cookies from her kid cookbook, but she wanted to alter them to make them gluten and dairy free. The original recipe called for butter and wheat flour, so we substituted coconut oil and almond flour for those. It also called for lemon zest, which we didn't have. So we substituted lemon juice for that one. And she wanted to add cinnamon to her recipe because she likes cinnamon. :) When all was said and done we had a recipe that loosely resembled the original, but followed the rules she'd set for herself and were very tasty. Win!


Swirly Sugar Cookies - Gluten free, Dairy Free
To make about 20 cookies, you will need:
1 cup powdered sugar (or blitz 1 C granulated sugar in a blender till powdered)
10 Tbs. coconut oil
2 Tbs. lemon juice
1 3/4 Cup almond flour
1 Tbs. cinnamon
Few drops food coloring
Parchment or Silpat lined cookie sheets

Whisk powdered sugar, cinnamon and almond flour together in a bowl. Melt coconut oil then add to dry mixture. Stir in lemon juice. Mix until well combined adding more flour or powdered sugar if mixture is too runny. Batter should be the consistency of tooth paste. Divide dough into 2 bowls. In one bowl add a few drops of food coloring until you reach the desired color. Mix food coloring into dough. On parchment or plastic wrap roll out the uncolored dough until it is about ¼ inch thick. Carefully spread out the colored dough on top of the uncolored dough. Carefully roll up the dough making a log with the colors swirled on the inside. Wrap log in plastic or parchment and refrigerate for about ½ hour.  Preheat oven to 350*F and remove log from refrigerator.
 
Slice dough into ¼ inch thick rounds and place onto a parchment or Silpat lined cookie sheet. Cookies will spread quite a bit!
 
Bake for about 13-15 minutes until edges are lightly browned.


Tuesday, October 1, 2013

Week 3 & 4 of the Kids' School Lunches

The kids branched out a little bit in their school lunches these past couple of weeks. The boy started taking Salmon Salad (mix 1 can of salmon with about 2 Tbs. paleo mayo and 2 tsp. mustard) as his protein and the girl made herself some gluten and dairy free cookies (she typed up the recipe, so I'll be posting that soon). They aren't Paleo or primal as they use powdered sugar (you can make your own without corn starch but it's still sugar).

The Boy is sticking to the gluten and dairy thing pretty well and will deny himself even if I say he can have something on occasion (he seems to be an all or nothing kind of kid). The Girl has been more reluctant. I've told her it's all her choice and she can eat as she sees fit (to a degree). If she wants to eat gluten and dairy, then I'm not going to say anything about it. I'd say she's holding firm at about 70/30. Overall they are still pretty happy with their lunches and so am I.

The pictures below are some of the lunches I managed to photograph...some got whisked out the door to school before I could snap my pics.

The Boy: Salmon Salad, frozen strawberries, lettuce and choc chip muffin
The Girl: Prosciutto, lettuce, frozen strawberries and a banana 

The boy: salmon salad, lettuce, pears, choc chip muffin
The girl: pastrami, carrots, apples, choc chip muffin

The girl: ham(hidden under the carrots), carrots, pears, cookie
The boy: salmon salad, lettuce, frozen strawberries (they melted and leaked so they got a bag this time), choc chip muffin

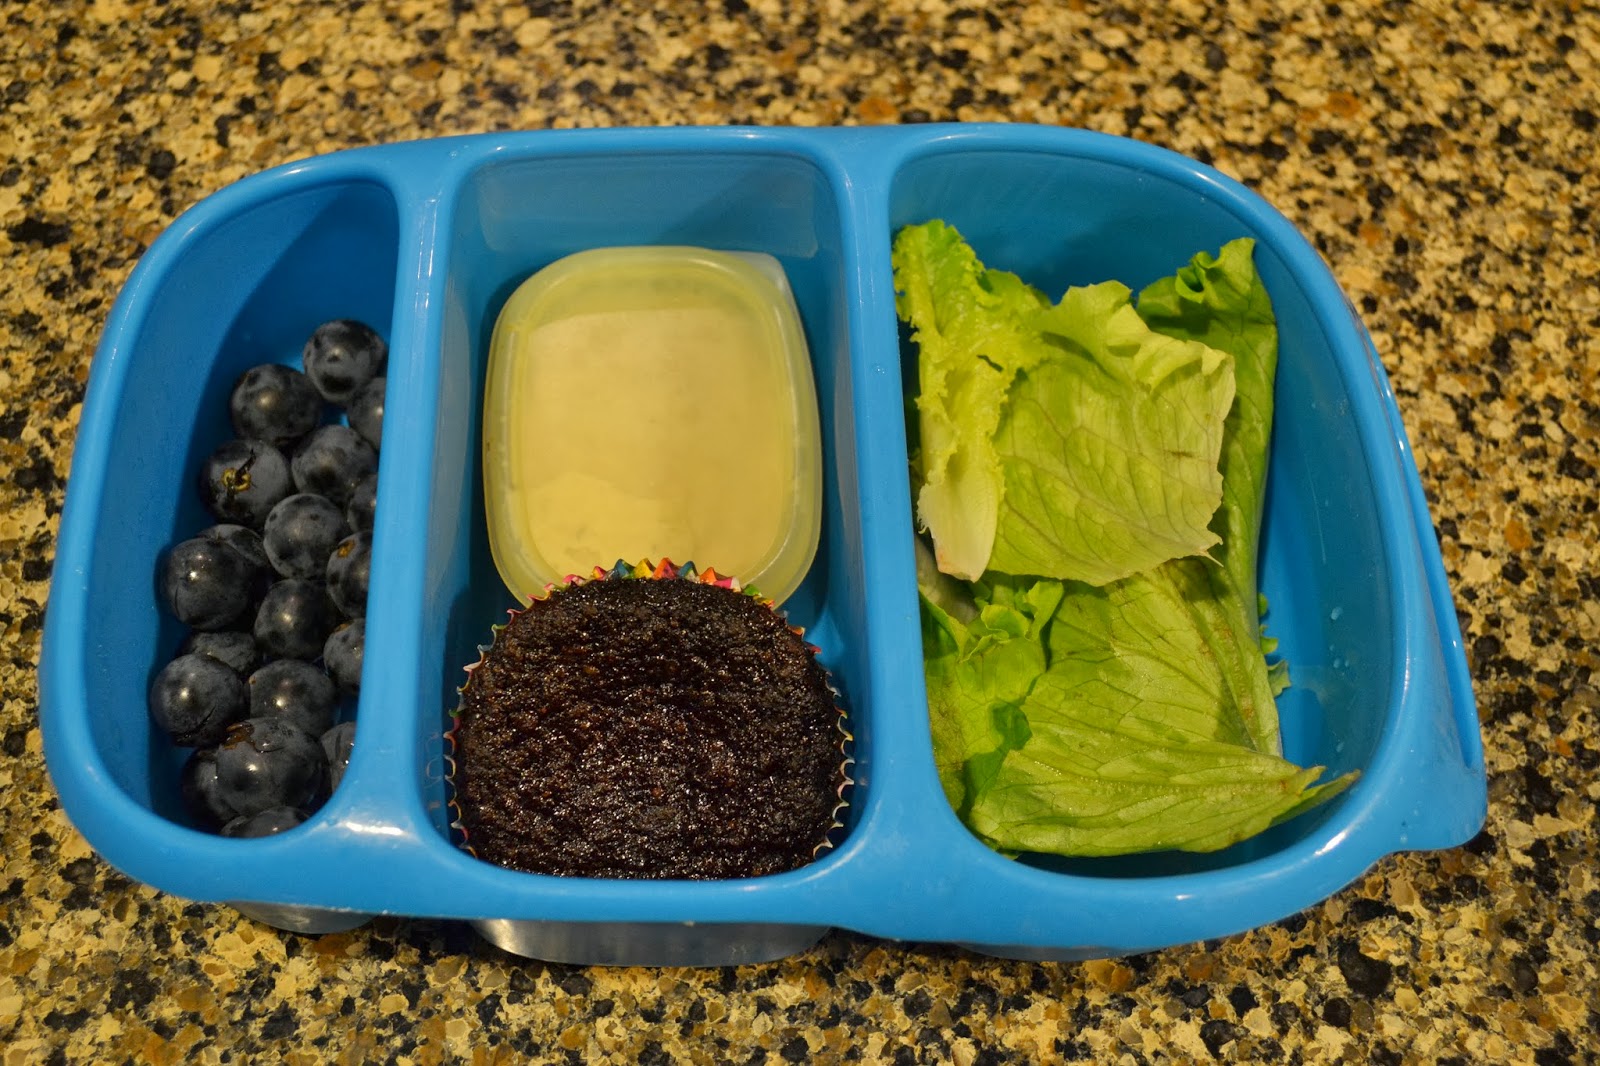
The boy: salmon salad, lettuce, grapes, choc chip muffin
The girl: turkey (under carrots), carrots, pears, cookie

The boy: salmon salad, pears, lettuce, grapes, choc chip muffin
The Girl: ham, carrots, hummus, pears, cookie

The boy: salmon salad, apples, lettuce, choc chip muffin
The girl: ham, carrots, apples, hummus, cookie

The boy: frozen strawberries, salmon salad, kale chips, choc chip muffin
The girl: got out the door before I could take a picture. I think she had ham, carrots, choc chip muffin, banana and dried peaches.

Monday, September 16, 2013

Another Week of the Kids' School Lunches

A lot of the kids' lunches are repeats from previous days, but as the seasons change I know that the fruit and veggies will probably change with it. They are still packing their lunch on their own each night for the next day, which is a big time saver in the morning and a stress reducer for me. So, it's working for us quite well!

What do your kids put in their lunch boxes?

The boy: sliced turkey, lettuce, banana and a choc chip muffin
The girl: prosciutto, carrots, banana and a choc chip muffin (she left her lunch box at school and had to us a substitute)

The boy: Canadian bacon, nectarines, lettuce and a choc chip muffin
The girl: Canadian bacon, apples, carrots and a choc chip muffin

the boy: pastrami, nectarines, lettuce and a choc chip muffin
the girl: prosciutto, nectarines, carrots and a choc chip muffin

The boy: pastrami, carrots, red grapefruit (in grape juice) and a choc chip muffin (he took a bite out of it!)
The girl: hummus, carrots, nectarines and kettle chips (not my favorite lunch for her, but I'm being flexible as long as most of the lunch is good)

Monday, September 9, 2013

The Kids' Lunches for the First Week of School

I think the kids did pretty well for the first week of school. They each picked a protein, veggie, fruit and treat for each day and then ate almost all of the food every day. That's a win in my book! Their lunch boxes look very similar from day to day, but as the season's change their fruits and veggies will most likely change as well. I can see apples on the horizon as the fruit of choice in a week or so!
 
Day 1:
The Boy: Pastrami, nectarines, lettuce and a Chocolate Chip Muffin
The Girl: Pastrami, Pickles, Banana and Blueberry Muffin

Day 2
The Boy: Turkey, melon, zucchini and chocolate chip muffin
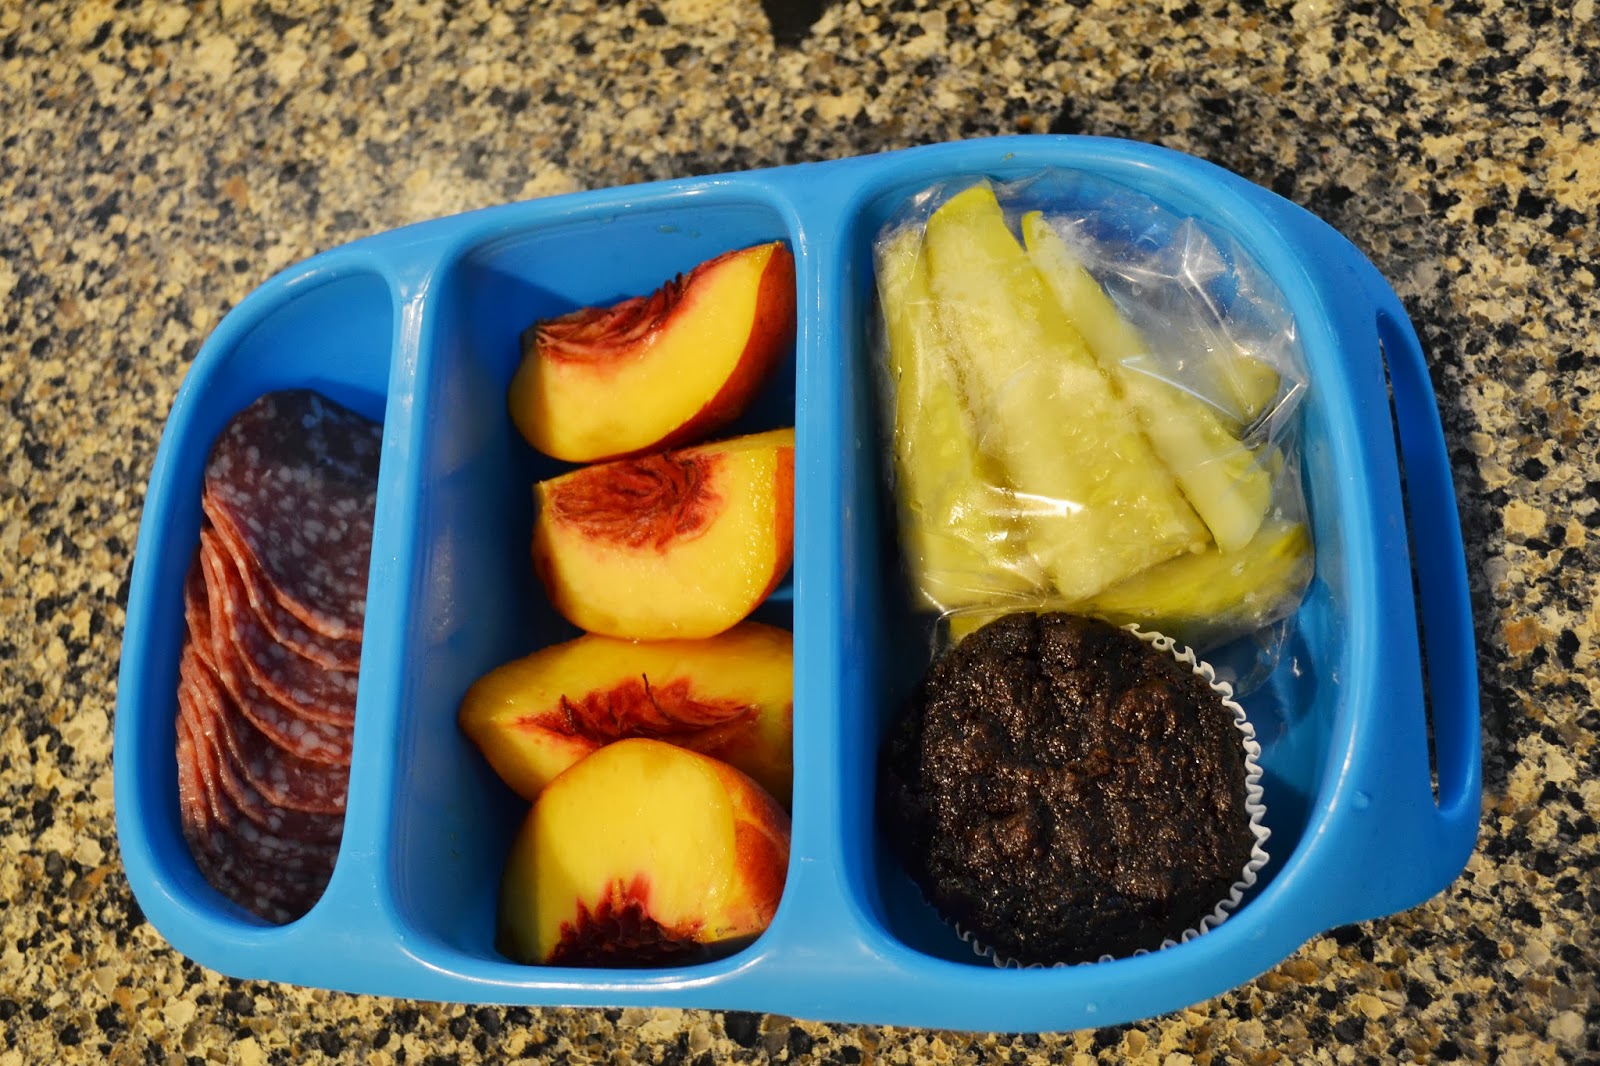
The Girl: Salami, Nectarines, pickles and chocolate chip muffin

Day 3
The Boy: Turkey, Melon, Chocolate chip muffin, Seaweed
The Girl: Salami, melon, chocolate chip muffin, Seaweed
 
Day 4
The Boy: Pastrami, melon, lettuce, chocolate chip muffin
The Girl (left her lunch box at school): Pastrami, carrots, nectarines, chocolate chip muffin

Day 5
The Boy: Pastrami, Nectarines, Lettuce, chocolate chip muffin
The Girl: Prosciutto, carrots, chocolate chip muffin, nectarines 

Thursday, September 5, 2013

Braised Beef with Root Vegetables

I like good beef. I like it to be grass fed and humanely raised and slaughtered. I like to know what that animal ate while it was alive, and I want to know if it was given any chemicals or drugs. In order to be sure of what I'm buying and what my family is eating, I buy my beef in bulk from a rancher I've met, talked to and like. We usually get 1/4 of a beef once or twice per year and store it in our big chest freezer.

When you get beef in bulk you get all sorts of cuts of meat. There's no cow out there that's made up of all T-bone steaks. You get some steaks, some roasts, some stew meat, ground beef, and soup bones. Some of the cuts are better when you throw them on the grill for a minute or 2 then eat them very rare. Some require more cooking. I've also found that some cuts suit me more in the summer and some are better for winter. I usually thaw my stew meat in the winter when I want to make a big pot of soup or stew, but in the summer I'm not really in the mood for that. I have found, though, that stew meat makes really good braised beef any time of year. I also happened to have a turnip that I pulled yesterday that was begging to be eaten, so that got thrown into the pan as well. You can use any root veggie you like in this dish. Carrots, onions, potatoes, rutabaga, parsnips or others would be tasty. Braising takes some time, so plan accordingly. Just like stewing meat, braising is low and slow cooking as well. Enjoy


Braised Beef with Root Vegetables
2 T coconut oil, bacon grease or butter
1 lb stew meat
1-2 C root vegetables (turnips, onions, carrots, potatoes, rutabaga or any others)
4 C warm water - divided
2 tsp. salt or to taste
1 tsp. garlic powder
1 Tbs. rosemary or other favorite herb

In a skillet (I like cast iron), melt fat. Rub meat with salt and garlic powder then brown meat in fat. When meat is just seared on all sides, add 2 C water to pan, cover and cook on medium low for about 30 minutes adding water as necessary to make sure the bottom of the pan is covered. Add chopped vegetables and rosemary at the 30 minute mark, cover and cook on low for another 45 minutes adding water as needed. Serve immediately with some liquid drizzled over the top of meat and veggies.

Monday, September 2, 2013

Back to School Lunches and Breakfasts for my Cavekids

Tomorrow the kids go back to school! I can't believe I  have a third grader and a fifth grader, but somehow it happened. The kids have decided to try to be 100% dairy and gluten free (yay!). So we have been working on how to make that happen. Even though I eat Paleo, it's not as easy to find things for the kids to take for lunch that fit into that category. I'll eat practically any vegetable, meat or fruit, but they are much more picky. The boy also doesn't really like cold meat, so we're working on ways to keep his meat warm or find meats he will eat cold.

As we start the school year, we're focusing on things I know they like and will try to add in other more adventurous items as the year progresses. So far in my preparations I've made a big batch of coconut flour chocolate pancakes to put in the freezer. Both kids like pancakes and can pop these babies in the toaster every morning to make their own breakfast. Add some precooked bacon and almond milk to that and they are set! Next week we may make some bacon and egg cups or pizza cups to have on hand for breakfast, but for now we're sticking to pancakes.

I also baked a big batch of chocolate chip muffins to put in the freezer. Instead of the applesauce I usually use in the recipe, I substituted zucchini puree. That way even if he doesn't eat the vegetables in his lunch box he's gotten zucchini anyway.  I also brought home a few blueberry muffins from our Farmer's Market Stall the other day just to give them some variety.

The kids will be packing their own lunches every night before they go to bed...at least that's the plan. I made a chart for them to consult when deciding what to pack. It's got 4 categories to choose from, and they should pick one item from each category. The 4 categories are: Protein, Veggie, Fruit, Treat. If they want an extra serving of one of the other 3, they can always leave out the Treat category, although I don't really anticipate that happening. In making this chart I asked the kids what they liked and listed those items. I figure if they both dislike turnips, there's no point putting that on the chart, right? So this is our chart so far...I'm sure we'll add more items as the year progresses and probably ditch ones that don't go over well.

Protein:
Boiled Eggs
Bacon and Egg Cup
Prosciutto
Jerky
Salami
Pastrami
Sliced Turkey
Ham Cubes
Meatballs
Chicken Legs
Salt and Vinegar Almonds - recipe to come!

Veggie:
Carrots
Pickles
Cucumbers
Lettuce
Spinach
Kale Chips - planning try out another recipe using the dehydrator

Fruit:
Banana - fresh or dehydrated
Apple
Applesauce
Nectarine
Peaches
Pears
Melon
Strawberries - fresh or frozen
Orange
Blueberries - fresh or frozen

Treat:
Chocolate Chip Muffin
Blueberry Muffin
Everyday Cookie
Smoothie in a Thermos

Here is what the kids packed for the first day of school. The girl chose pastrami, pickles, a banana and a blueberry muffin.

The boy chose pastrami, a nectarine, few pieces of romaine lettuce and a chocolate chip muffin.

I'm anxious to see what gets eaten and what gets brought back home!

Thursday, August 29, 2013

New and Improved Zucchini Bread Recipe

It's zucchini  season!  What do you do with your extra zucchini? I love sauteed zucchini as well as zucchini chips and even raw zucchini salad, but my favorite way to eat zucchini is probably zucchini bread. I've made several different versions of zucchini bread over the years, but this version is definitely my favorite.  Give it a try and see for yourself.


Zucchini Bread
2 1/2 C shredded and drained zucchini
2 1/2 C almond flour
4 eggs
1/2 C maple syrup
2 tsp cinnamon
1 tsp allspice
1 tsp cloves
1 tsp baking soda
1/2 tsp salt
1C chocolate chips


Mix all ingredients together except chips. Gently fold in the chips then scoop batter into muffin tins. Bake at 350 *F for 20-30 minutes.

Friday, August 9, 2013

Two Fruit and Veggie Smoothies

The other day the kids and I were at Costco and the Vitamix demo lady had made a green smoothie with banana, apple juice and spinach. Surprisingly the kids tried it and LOVED it. They both asked me if I could make one like that when we got home. "Sure!", I say. Do I want to get more veggies into my kids? Heck, yeah!

So when I got home I concocted my own version of the green smoothie using the fruit and veggies I had on hand. I didn't have any juice but I had apple sauce thawed from last year's batch in the fridge and I had some zucchini puree from one of my HUGE zukes I got at the farmer's market a couple weeks ago. So I threw it all in...and guess, what...the kids drank it even though it was green! Shocking, no?

This morning, I thought I'd try the smoothie again but I hadn't picked any lettuce from the garden yet so I added some almonds and one of those little pink grapefruit cups in grape juice from Costco. This one wasn't green, but the kids liked it just the same. What do you like to put in your smoothies? I'm always looking for new flavor combinations!


Green Fruit and Veggie Smoothie
2 Bananas
2 Nectarines
1 Apple
1 C Apple Sauce
1 C Veggie puree (I used zucchini)
2 C torn spinach or lettuce (I used lettuce)
ice to fill the blender the rest of the way to the top.

Blend everything until smooth then serve immediately.


Not-Green Fruit and Veggie Smoothie
1 Banana
1 Nectarine
1 Apple
1 C Veggie puree (I used zucchini)
1/2 C almonds
1/4 C pink grapefruit + 1/4 C grape juice (or one of those little cups from Costco)
ice to fill blender the rest of the way to the top

Blend everything until smooth then serve immediately.

LinkWithin

Related Posts Plugin for WordPress, Blogger...