Monday, June 14, 2010

Sourdough bread

After I started making some of my family's bread, I wanted to try making sourdough. I looked up some recipes on AllRecipes.com and found that most recipes required Sourdough starter. I had no idea what that was so I looked that up as well. Turns out that Sourdough starter is simply a mixture of flour water and yeast that you let sit in a warm place until it "sours". As I kept reading I found that you really don't need the yeast in the mixture at all, and can "collect" natural yeasts from the air to inoculate your mixture. In earlier times when yeast in a bottle or packet wasn't available, people would make this starter to allow them to make yeast bread. I didn't really want to wait to collect natural yeast so I added my own. I put a cup of flour, a cup of warm water and 1.5 tsp of yeast into a glass jar, mixed it up then put it on a plate in the oven with just the oven light on. The light warmed the oven enough to keep the whole mixture at a good temperature for the 5 days it needed to sour. After a few days the mixture smelled a lot like sourdough so I thought I'd give bread a try. I found a recipe for a simple sourdough bread for a bread machine and modified it to use an oven.

Simple Sourdough Bread
3/4 Warm water
1.5 tsp active dry yeast
1 tsp sugar
1 C sourdough starter
1.5 tsp salt
2.5 C Whole Wheat flour
Directions:
1. Add sugar and yeast to warm water and let bloom for about 10 minutes
2. Add yeast mixture to starter then add Flour and salt to wet ingredients.
3. knead for about 5-10 minutes until dough is elastic. form into a ball and put into a greased bowl. cover with towel and let sit for an hour or 2 until dough has doubled.
4. punch dough down, form into loaves, rolls or other shapes and put onto greased pizza stone or cookie sheet.
5. bake for about 30-45 minutes in 350 degree oven.
To go with our sourdough bread we had some of the miner's lettuce from the garden, which was very yummy. This lettuce is very tender and has a mild flavor. According to the seed packet it also contains a lot of Vitamin C.
And to top that off we had Linkshire sausage from http://properbritishbacon.com/. Yum!

Sunday, June 13, 2010

Pictures of Flowers and plants around the yard


Bees love Chive flowers!


My HUGE strawberries! I moved the strawberries from pots to the garden last spring. They Love the garden apparently. They are sending out baby runners all over the place making new plants and producing the biggest strawberries I've ever had. Now they just need to get enough sun to turn red...


Red Beets. I planted golden ones as well, but they aren't as far along as the red ones. Beet greens are yummy, too.


Cabbage.


Soybean sprout in the corn rows. Soybeans add nitrogen to the soil and the corn needs extra nitrogen.


Corn sprouts!


The Rhubarb has perked up a lot! I think in about a week I'll have enough for a pie or crisp.


Row of potatoes. I planted baking potatoes and fingerling. The fingerlings are yellow, red and purple.


Miner's lettuce! We ate some for dinner last night and it's really yummy. Turns out that each plant grew a ton of these little flower/leaves. so 2 plants worth of leaves were more than enough for a dinner salad. I've heard that they self propogate if you let them, so I guess I'll have a miner's lettuce corner to my garden next year.


Hens and chicks along the front rock wall.


Pansy in a planter.


I got some Columbine babies last year from a friend. This year they are blooming like crazy.


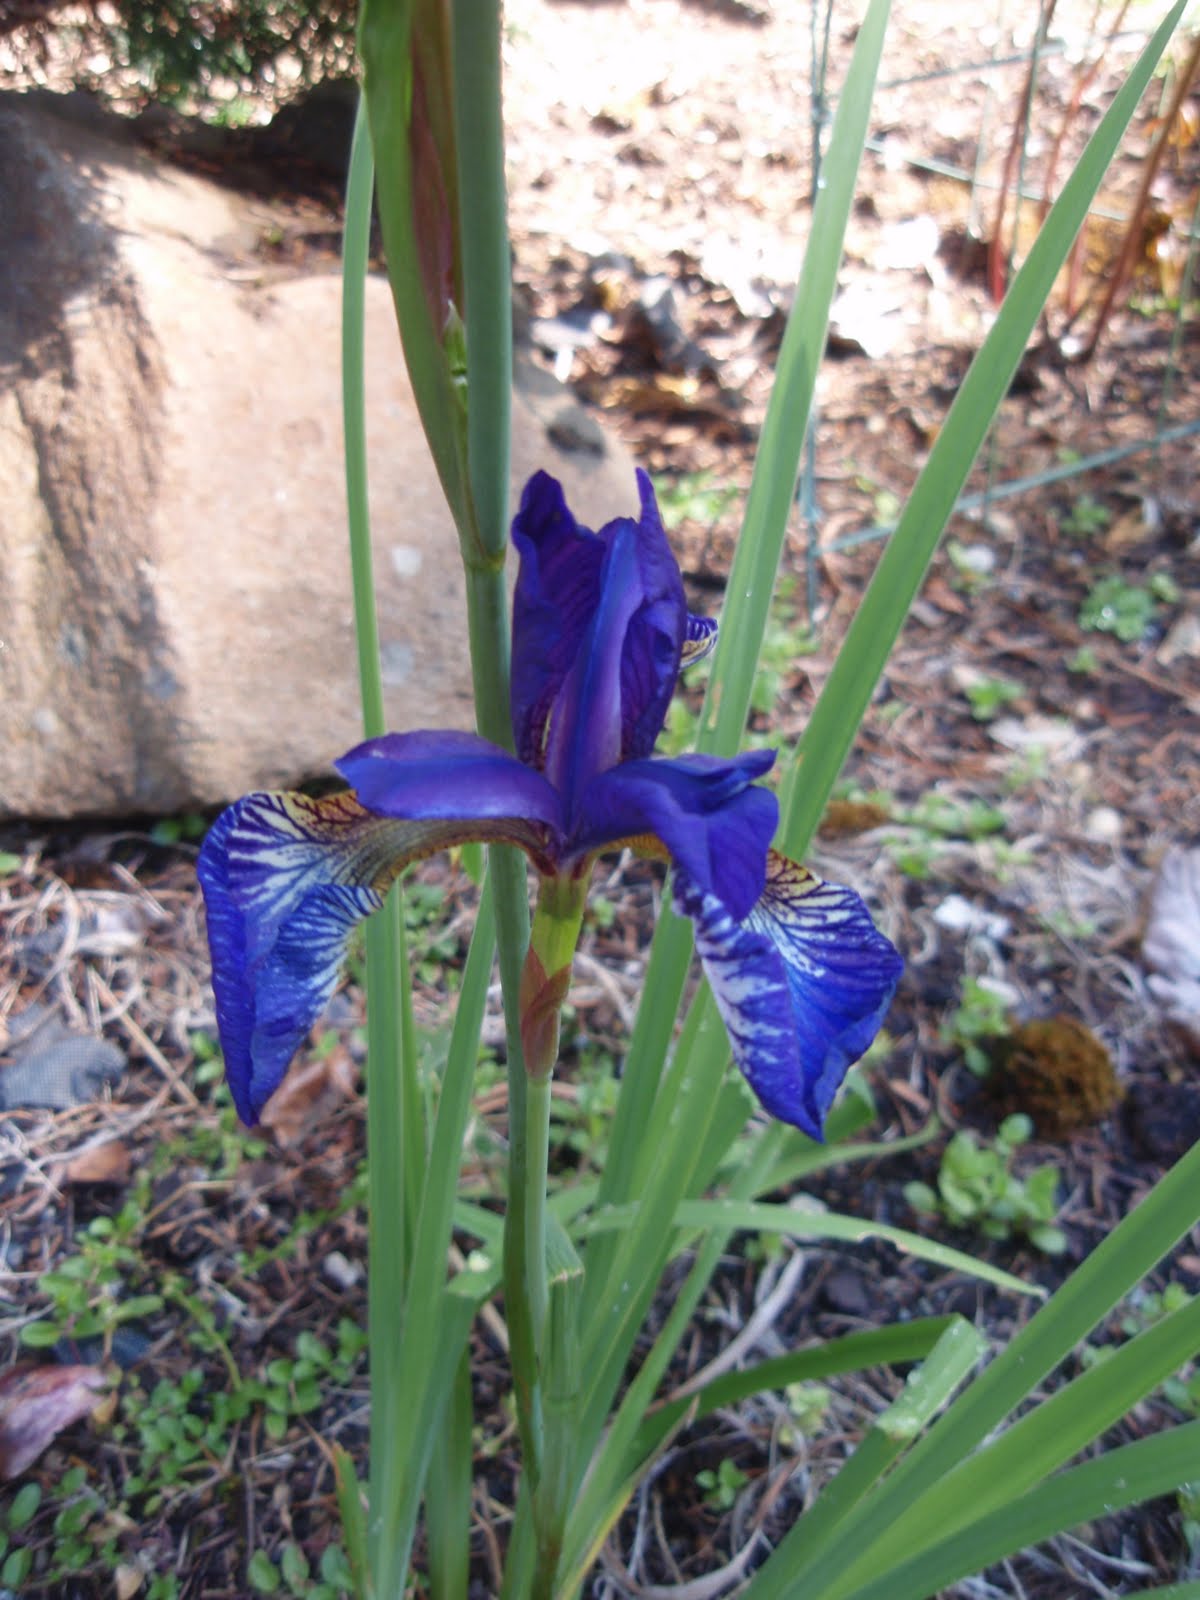
My first Iris! I planted these about 2 years ago and have never had a flower, but this year the
waiting paid off.


Sunday, June 6, 2010

Canning Jam, Jelly, Salsa and Chutney


Canning is something that I've wanted to try for quite a while. For the past several years I've pickled cukes and beets and had them taking up space in my fridge for most of a year. That worked ok, but being able to put them in the pantry would be much nicer. So when I saw that House Party was looking for hosts for a Ball Canning Party, I applied and was chosen. They sent me a water bath canner, a canning discovery kit, about 20 boxes of pectin, canning tools like a lid lifter and bottle tongs and coupons for 4 cases of canning jars. With all that I had more than enough supplies to make a lot of canned food. To learn to use the canner, I made pepper jelly the weekend ahead. The coordination of washing jars, cooking food, simmering lids and processing the cans was a bit of a chaotic dance, but hubby and I got it made.

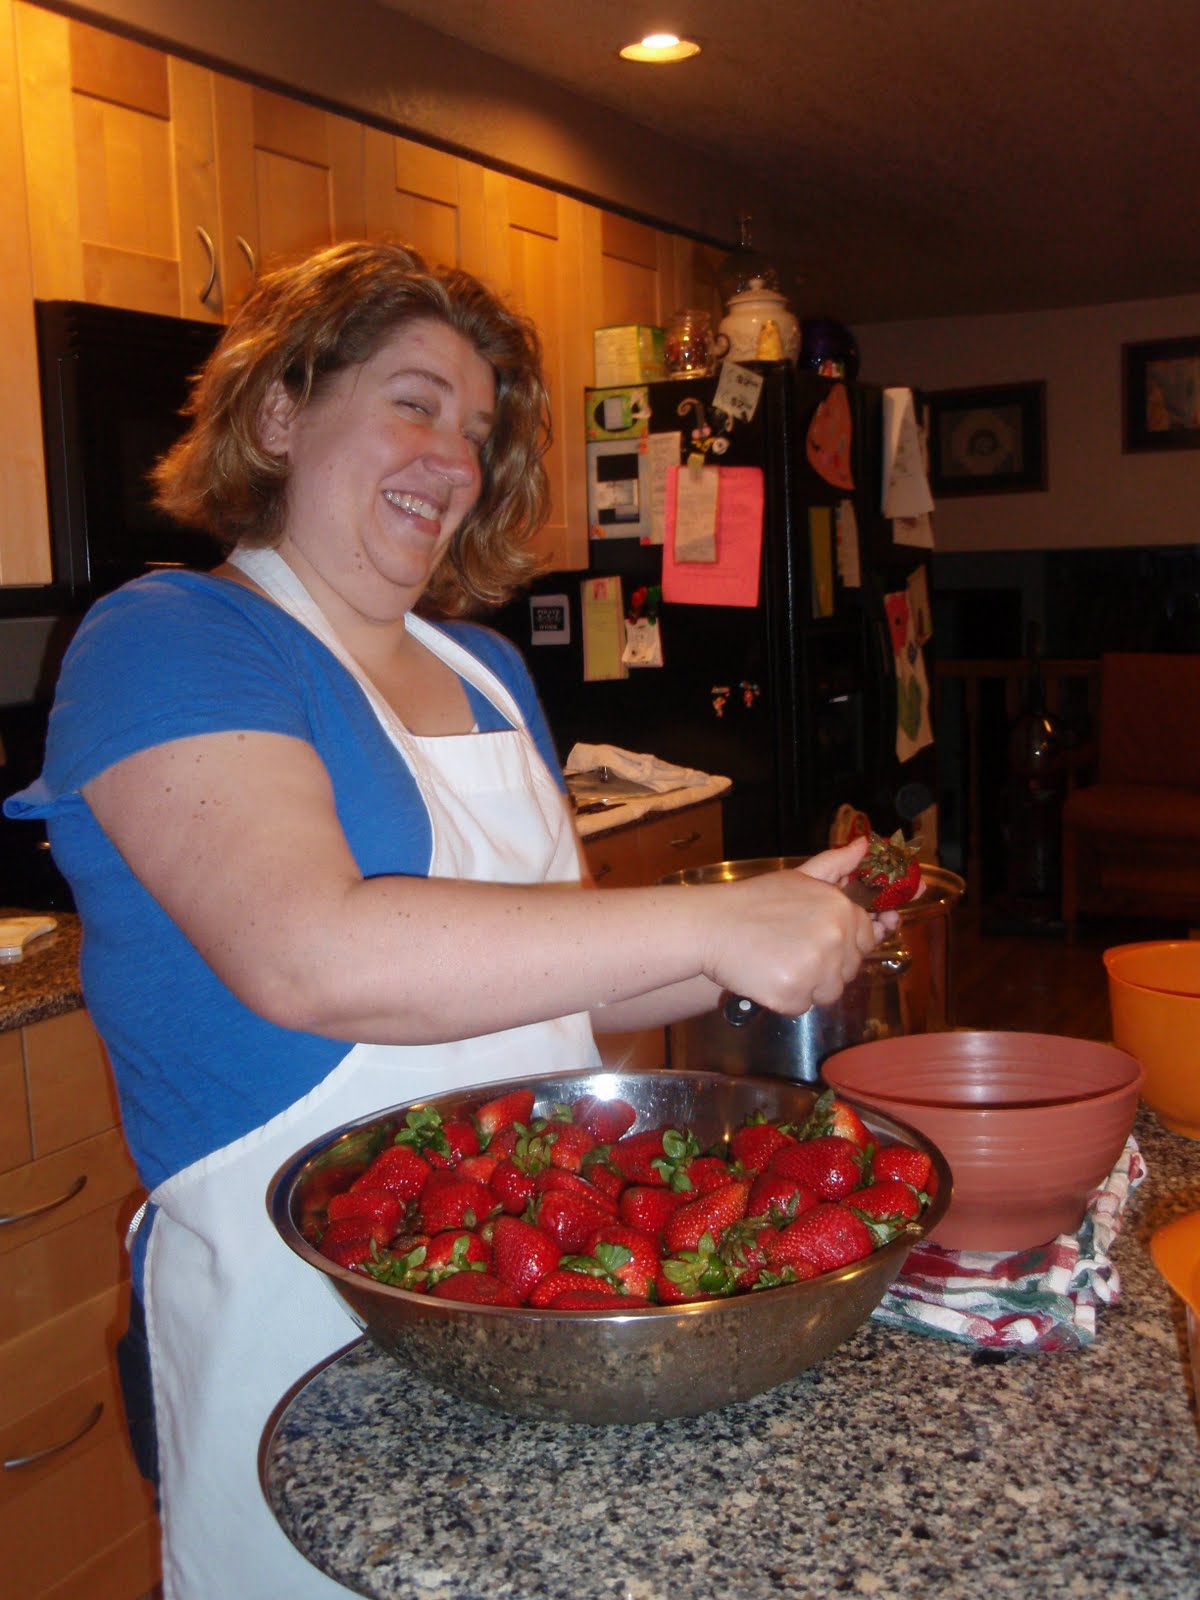
For the Canning Party I invited some friends over to help with with the chopping and processing... and chatting and laughing. My only issue with the House Party is their invite tool, which seemed to send a lot of invites either into people's spam folders or into never never land. (so if you didn't get an email invite and you live close by it probably went into your spam folder, but we'll do it again in summer and anyone who's interested is invited. ) But even with half of the invites getting lost we had enough people to make Salsa, Strawberry jam and apple chutney. The apple chutney was made ahead and brought by a friend, then we canned it at the party. The Salsa and jam were both made start to finish at the party.

Water bath canning can be used to preserve any high-acid food like pickles, tomato sauces, fruit jams and jellies and the like. Anything that's not high acid must be processed in a pressure canner. That always sounded really intimidating to me. Although water bath canning seemed intimidating as well, and it was a timing challenge but not really hard.

So the basic process for water bath canning is this:

1. run your jars - not lids and bands - through the dishwasher sanitize cycle.
2. hand wash lids and rings in warm soapy water
3. simmer lids but not rings in near boiling water - about 180 degrees while doing everything else.
4. fill your canner or big pot with water half way to the top (make sure that jars submerged in water are covered by water by 1 to 2 inches) and bring to a boil.
5. prepare your recipe. Core, peal, chop veggies and fruits and cook according to recipe directions until mixture is at a boil.
6. When jars are washed and still hot, canner water is boiling, lids are at a simmer and recipe is boiling ladle recipe into warm jars.
7. after filling jars wipe rims with a wet towel then put lids and rings on jars.
8. put sealed jars into boiling canner water and submerge
9. boil for 15 minutes or whatever your canning recipe tells you. The smaller the jar the less time you need to process. 15 minutes was the recommended time for an 8 oz jar.
10. Remove jars from water and sit upright on the counter. When you hear the POP of each lid and can not push lids down with your finger they are sealed.

The recipe for the strawberry jam came from the inside of the pectin box. It was basically 6 Cups of hulled and crushed strawberries, 4 Cups of sugar and a box of pectin. The pepper jelly recipe and the salsa recipe came from the House Party - Ball Taste of Summer site, but I'm sure finding recipes for these would be easy online.
Now I'm just looking around for things to can. I know I'll make all kinds of pickles this summer, and from the look of the strawberry plants in my garden, maybe I'll make some jam from my own garden fruit! Happy Canning!

Homemade Bread


Keeping with my "make your own food" theme I've made a couple of loaves of homemade bread lately. I wanted to make bread that was as healthy as possible but light enough that the kids would like it. I got my first recipe from my cousin. This one was originally Molasses Oat bread but I substituted Honey for the Molasses and substituted 2/3 Whole Wheat flour for the AP flour.
Yesterday morning we ate the Honey Oat Bread with Strawberry/Blackberry jam that I canned on Friday with some friends (pics and recipes on canning to follow in another blog entry). It was the best breakfast I've had in a while!

Honey Oat BreadIngredients
2 cups boiling water
1 cup quick oats
1 tablespoon yeast
1 teaspoon sugar
1/2 cup warm water
1/2 cup honey
1/4 cup sugar
2 teaspoons salt
1 tablespoon butter
4 cups Whole Wheat Flour
2 cups Bread flour

Directions
Pour boiling water over oats and let stand about 1/2 hour.
Sprinkle yeast and 1 tsp sugar into warm water. Let stand 10 minutes, then stir.
Add honey, sugar, salt and butter to the cooled oatmeal; blend well.
Stir in dissolved yeast.
Add enough flour to make a soft dough.
Turn out on floured board and knead until smooth and elastic, about 10 minutes.
Place in a greased bowl; turn to grease top.
Cover with a clean towel and let rise in a warm place until double -- about 1 hour.
Punch down and knead lightly for 2 minutes.
Divide dough in half and shape into loaves. Place in greased pans.
Cover and let rise until double.
Bake at 400 degrees 45 -55 minutes.
Note* If bread darkens too much for your liking while baking -- cover with a piece of tin foil -- shiny side up. This will help it from darkening any further.

This is a sweet bread and the kids loved it! I wanted to try another variation of Whole Wheat bread that wasn't quite so sweet so I took a recipe I found online and modified it to be more healthy. This one was also a hit with the kids and the adults and was much less sweet...more of a standard whole wheat bread recipe. Yum!

Standard Whole Wheat Bread
Ingredients
1 cup warm water
2 teaspoon active dry yeast
1 Tbs sugar
1 C rolled oats
1 C boiling water
2 Tbs butter
1/2 cup honey
2 tsp salt
2 C bread flour
2 C Whole Wheat Flour
1/3 C Flax seed meal
1/3 C Wheat Germ

Directions
Pour boiling water over oats and let stand about 15 min.
Sprinkle yeast and sugar into warm water. Let stand 10 minutes, then stir.
Add honey and butter to the cooled oatmeal; blend well.
Stir in dissolved yeast.
Mix flours, Wheat Germ, Flax seed meal and salt.
Add dry ingredients to wet ingredients and mix to make a soft dough.
Turn out on floured board and knead until smooth and elastic, about 10 minutes.
Place in a greased bowl; turn to grease top.
Cover with a clean towel and let rise in a warm place until double -- about 1 hour.
Punch down and knead lightly for 2 minutes.
Divide dough in half and shape into loaves. Place in greased pans.
Cover and let rise until double.
Bake at 350 degrees for 45-55 minutes.

Sunday, May 23, 2010

Eating Local and eating well


Well, I've been attempting to eat more locally lately and had the opportunity yesterday to go to the Farmer's Market. Having a small unheated greenhouse I really had no idea what you could actually grow here in winter/early spring if you gave it your all. These farms represented at the market must have huge heated greenhouses to grow the tomatoes, potatoes, onions, herbs and other veggies I saw there yesterday. Some of the tomato plants were HUGE and one vendor had red ripe tomatoes while we still have 40 degree temps outside some days.


I was especially enamored by the meat and cheese vendors. One stall had gigantic igloo coolers filled with various parts of pigs and cows. You could get literally every part of that animal if you wanted it. They also sold little tubs of lard, which I was tempted to buy, but didn't. The same vendor had a very large variety of cheeses he had made from milk from his cows. So yummy!


We also visited the alpaca farm booth where the vendor had a hand crank sock loom making a very long sock from wool his wife had spun into yarn. Daughter loved this booth and wanted to feel every sample of wool they had. The man let her take a few curls of wool from one sample that looked a lot like it came from a guy named Al Paca rather than an animal (hubby's joke). I think we're going to have to visit this farm and pet an alpaca. Although from the way the man talked, if you come to pet and feed the animals they may make you shovel some manure as well...I guess I'll put the kids on that job. :)


So I walked away from the market with asparagus, early walla walla onions, honey sticks, and a strawberry rhubarb pie. I looked for more rhubarb plants, but didn't find any.


On the way home we stopped by Bill the Butcher to buy some meat. I've heard a lot about this place and wanted to see what they had. We chose local Tri Tip preseasoned with their own herb mixture, a pound of house made bacon, a couple of bratwurst and a couple of beef franks. We had the tri tip last night cooked on the grill and the bacon this morning for breakfast. I got the end piece of bacon that's about a 1/2 inch thick and tastes like a piece of heaven. Yum! We'll have the "hot dogs" tonight for dinner and hopefully the kids will like them as well as Oscar Meyer.


So last night's dinner consisted of local asparagus, local tri tip steaks, local onions and mushrooms. Can't beat that!

Thursday, May 20, 2010

Something about the garden for a change

Well, I've been talking mostly about cooking lately and thought I'd post something about the garden instead. Hubby and I have gotten about 98% of the garden weeded and about 80% of the planting beds are topped with our homemade compost. I've gotten some of the seedlings planted and a few seeds put into the ground for direct planting. But even with all of that done I feel behind for some reason. I looked at my blog from last year about this time and we were just getting the first greens of the season from the greenhouse. This year I'm at least a month ahead of schedule on that front, but I still feel like I'm behind.

So far I've gotten the peas, pom pom lettuce, miner's lettuce (still not sure about this one as it appears to be bolting already but still tastes ok), scallions, leeks, potatoes, spinach and 1/2 of the red beet seedlings into the garden. I direct sowed corn this past weekend, and as soon as those sprouts come up I'll put soybean seeds next to them. Soybeans, green beans and peas are nitrogen fixers that put nitrogen back into the soil while most other plants take it out. The corn needs lots of nitrogen, which makes soybeans a perfect planting partner for it. I'll also add some blood meal to the corn patch once the seedlings get about 3 inches tall to add even more nitrogen.

I still have carrots, red cabbage, broccoli, golden beets, pumpkins, pole beans, soy beans, romaine lettuce, cukes, butternut squash, zucchini and the last half of the red beets to put into the garden. This year I decided to try a few new veggies I've never grown before. I've started some Okra and Artichoke in the greenhouse. The okra is starting to sprout, but so far there's nothing to see in the Artichoke pots. I grew up in the south, so I'm really looking forward to the okra. I haven't had it in quite a while and would love to have some made just the way Mama used to make it. Yum!

This year the rhubarb is looking really pathetic. I don't know much about rhubarb; so I'm not sure if the plant is just old and needs to be replaced, if it needs more nutrients of some sort, if it needs to be moved to get more sun, if there's a pest eating it or if it's something else entirely that's causing the stalks to be tiny and the leaves to be yellow-ish and full of holes. Maybe it's a little bit of all of those problems. I'm thinking of buying a few more plants or trying to start one from seed and then planting it somewhere else in the yard.
I'm also planning to move our blueberry bushes and raspberry plants from another part of the yard into the garden next to our gorgeous strawberry plants. Both the blueberry and raspberry are not thriving where they are for any number of reasons, so by putting them in the garden I hope to give them regular water, sun and nutrients they don't get now in their neglected corners of the yard.

So, all in all I guess the garden is going pretty well. But I can't help but think I'm forgetting to plant something...and no, it's not tomatoes! Tomatoes and I don't get along in general. Although last summer was a pretty good year for tomatoes in my garden. I didn't plant them; they were volunteers. But I did get a few handfuls of cherry tomatoes that ripened on the vine, which is a first for me. I've been considering buying a few tomato plants from a guy down the road just to have something to fancy up our new deck. :) Maybe if I don't start them from seed on my own they'll consider growing for me.

Wednesday, May 19, 2010

Homemade Pizza


So following my theme of making healthy food that I hope the family will like to replace the less healthy version they've been eating, I made my own pizza dough for pizza dinner last night. I got the dough recipe from Baraba Kingsolver's Animal, Vegetable, Miracle (http://www.animalvegetablemiracle.com/Pizza.pdf ) then used Classico bottled pasta sauce and shredded mozzarella. (I'm hoping to make my own Mozzarella at some point from the recipe in this book, but didn't have the time or ingredients last night.)

FRIDAY NIGHT PIZZA (Makes two 12-inch pizzas)
3 tsp. yeast

1½ cups WARM water

3 tbs. olive oil
1 tsp. salt

2½ cups white flour

2 cups whole wheat flour


To make crust, dissolve the yeast into the warm water then add oil and salt to that mixture. Mix the flours in a separate bowl then knead them into the liquid mixture. Let dough rise for 30 to 40 minutes.


Once the dough has risen, divide it in half and roll out two round 12 inch pizza crusts on a clean, floured counter top, using your fingers to roll the perimeter into on outer crust as thick as you like. Using spatulas, slide the crusts onto well floured pans or baking stones and spread toppings.
16 oz. mozzarella, thinly sliced
2 cups fresh tomatoes in season (or sauce in winter)

Other toppings
1 tbs. oregano 1 tsp. rosemary Olive oil

Layer the cheese evenly over the crust, then scatter the toppings of the week on your pizza, finishing with the spices. If you use tomato sauce (rather than fresh tomatoes), spread that over crust first, then the cheese, then other toppings. Bake pizzas at 425° for about 15-20 minutes, until crust is brown and crisp.

I used pizza stones and sprinkled corn meal on them before putting dough on top. I thought they were much better than frozen and almost better than delivery. Son didn't like that they were different than he was used to but daughter loved it. We'll try again with leftover pizza tonight and see if he likes them better the second time around. :)

LinkWithin

Related Posts Plugin for WordPress, Blogger...